How to streamline onboarding with Cacoo flowcharts

Cacoo Staff
March 25, 2024
Onboarding new team members is a rewarding experience: expanding your team, building relationships, and gaining new colleagues. But it’s also a time-consuming process for all involved. And if your team works remotely, it can be extra time-consuming.
Onboarding remote employees can complicate the onboarding process in all kinds of ways. For example, the lack of face-to-face interaction makes it more difficult for your new employees to ask questions spontaneously and get to know their colleagues. There are no casual coffee break chats or team lunches. And because remote work relies so heavily on digital tools and technology, onboarding plans need to cover much more material than in a traditional office setting.
But you can make it easier with Cacoo.
Cacoo is an online diagramming and design tool. Its intuitive interface and collaborative features simplify creating and sharing onboarding processes.
Your Cacoo creations will quickly guide your new team members through their training.
How to Create an Onboarding Process Flow with Cacoo
When the world went remote in the early days of the COVID-19 pandemic, effective onboarding was one of the biggest challenges faced by newly remote companies. In Workable’s New World of Work survey, 37.4% of respondents cited effective remote onboarding as one of their top three most significant challenges in recruiting talent.
So, how do you overcome that hurdle?
One highly effective strategy is to standardize your onboarding process. Companies with a standardized process boast 62% greater productivity among new hires and see 50% higher retention, according to the Harvard Business Review. And while it’s easy to talk about standardizing processes, it can be much harder to actually do it – unless you have the right tools at your disposal.
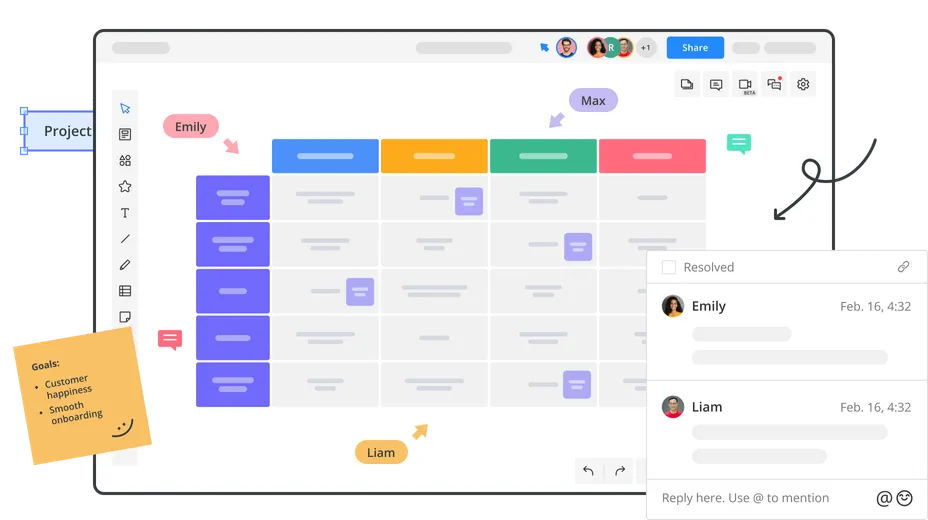
With Cacoo, you can lay out your onboarding process flows in easy-to-digest visual diagrams. This will ensure that your whole team understands how to assist new hires and that your recruits know what to expect in their first days.
We will walk you through creating an onboarding flowchart like this in Cacoo. By the time we’re through, you’ll have all the tools you need to streamline your onboarding process and welcome new employees to your business in style.
If you’d like, you can sign up for a free Cacoo account and follow along with the steps below, plugging in information specific to your business and your onboarding process. Activate your free account now to get started. Alternatively, keep reading to understand if Cacoo is a good fit: you can set up your account whenever you’re ready!
When creating a new diagram in Cacoo, you have two basic options: start with a blank canvas for ultimate freedom or choose a pre-designed template to guide you through the design process. In most instances, we suggest starting with a template: there are dozens to choose from, and using a template helps you get your flowchart off to a much faster start than starting from scratch.
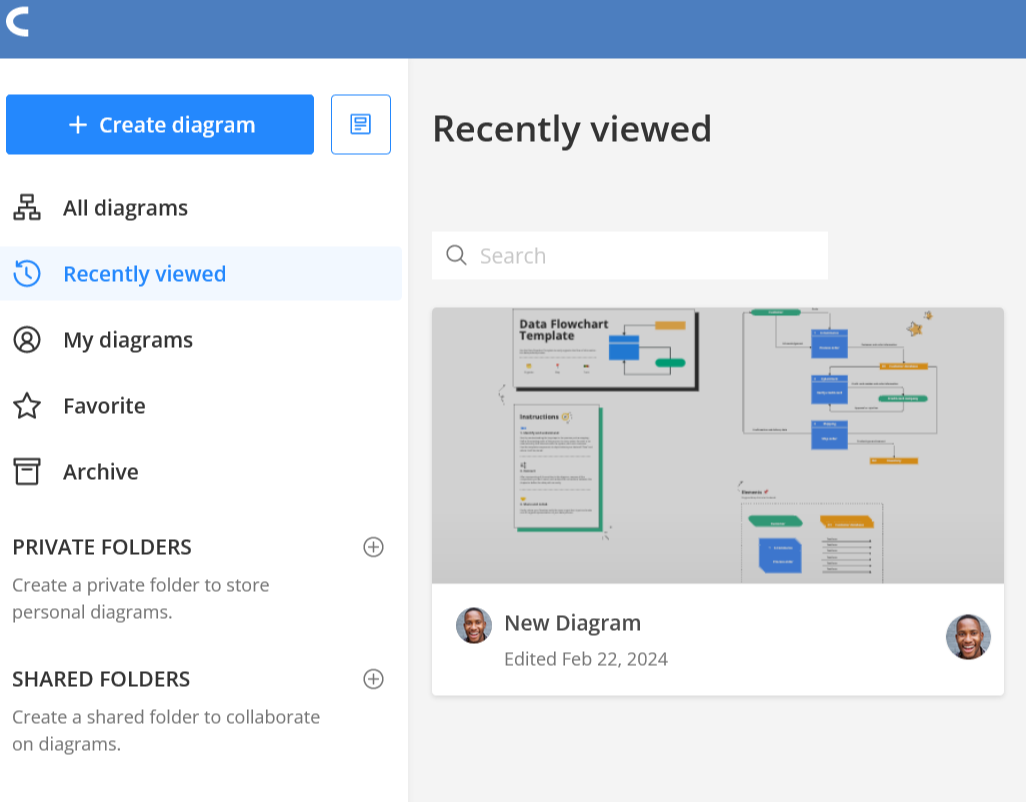
Click the blue Create Diagram button in the left menu to start from a blank canvas. To choose a template, select the white template button beside it.
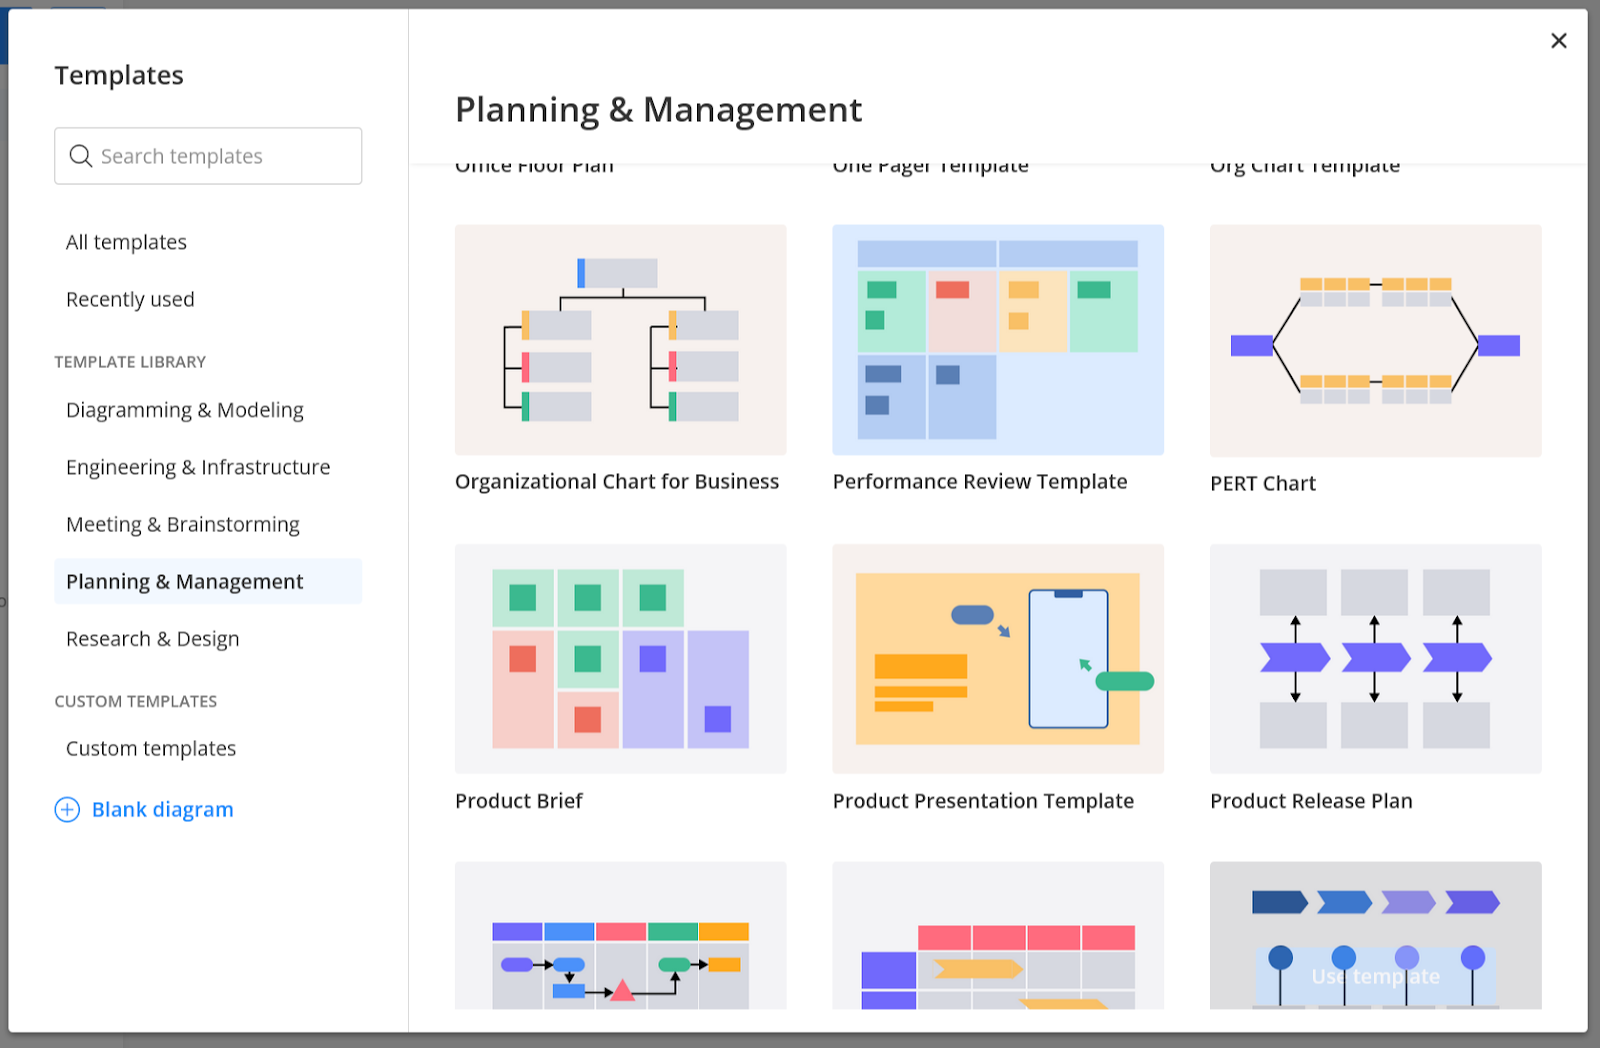
Clicking the template button will open the Cacoo Template Library. Here, you can browse by category or search by keyword to find the perfect design. When creating an onboarding flowchart, you’ll find the most suitable templates in the Planning and management category.
Click on the template you want to use, and it will open in a new window. For this example, we’ll use a basic calendar template to schedule our onboarding process and help your new employees understand what they can expect in their first week.
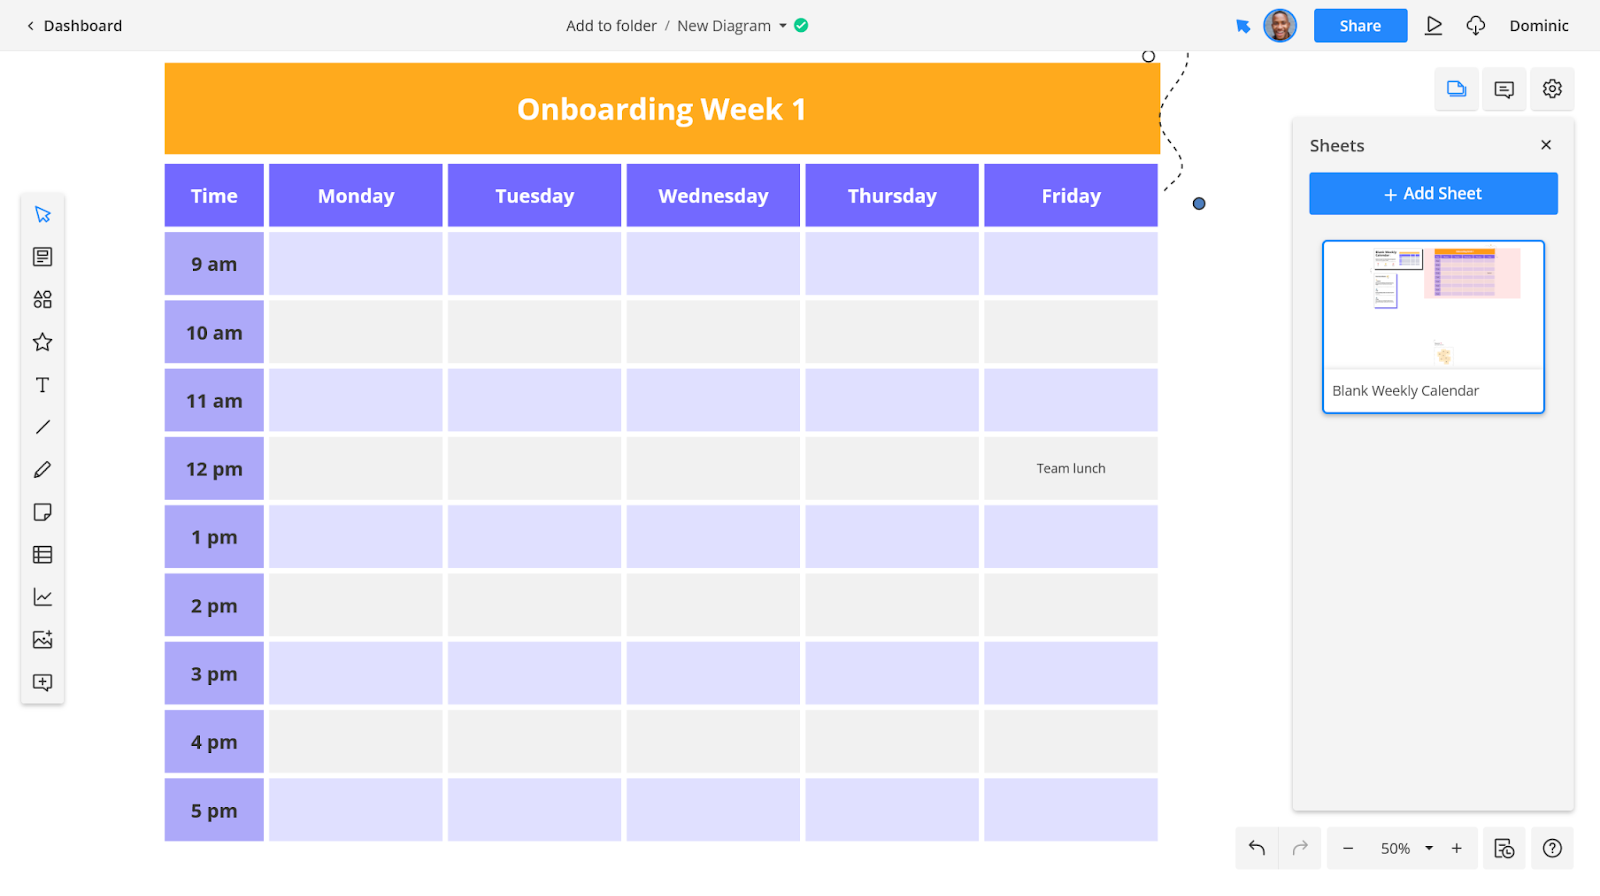
Now, it’s time to start customizing.
First, let’s make the title more interesting – you want your new employees to be excited and energized about this! To edit any text already on the template, just click on the text and update the title to reflect your onboarding process.
Clicking once on the element will cause an editor menu to appear. This menu contains all the basic options for changing your selected element.
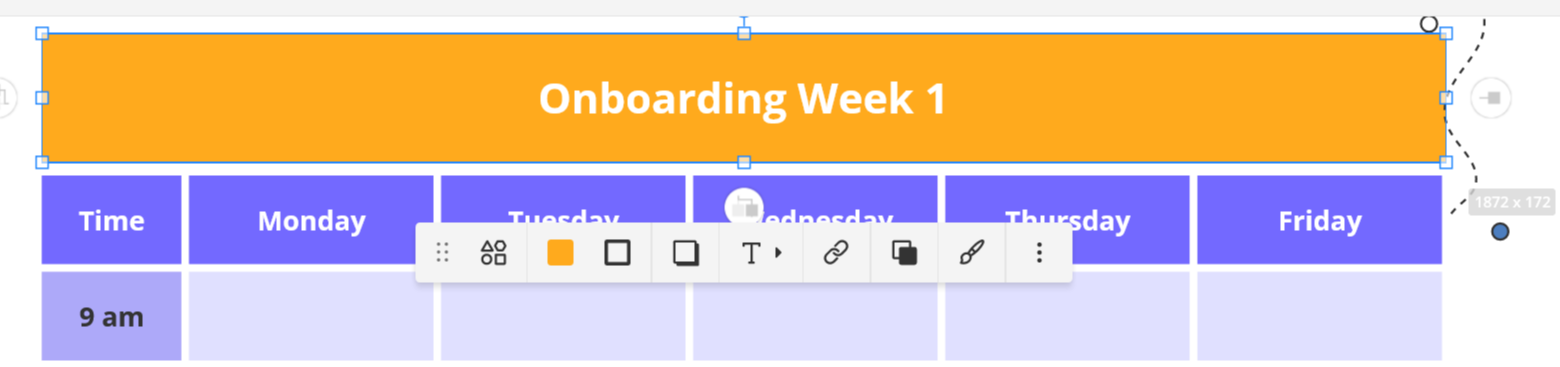
Since we’ve selected a text box, our menu options from left to right can be modified. These include:
- The shape of the text box
- Fill color
- Outline
- Drop shadow
- Font
- Hyperlinks
- Stack order (for when multiple elements overlap with one another)
- Styles (quick templated edits–e.g., changing the fill and font simultaneously)
If the option you need isn’t present–for example, copying and pasting, duplicating, or flipping, click the symbol with the three vertical dots on the right-hand side of the menu bar: the kebab menu.
(Fun fact: That’s an actual term. Google’s Material Design language named common menu icons after food. The horizontal version of this icon is a meatball menu.)
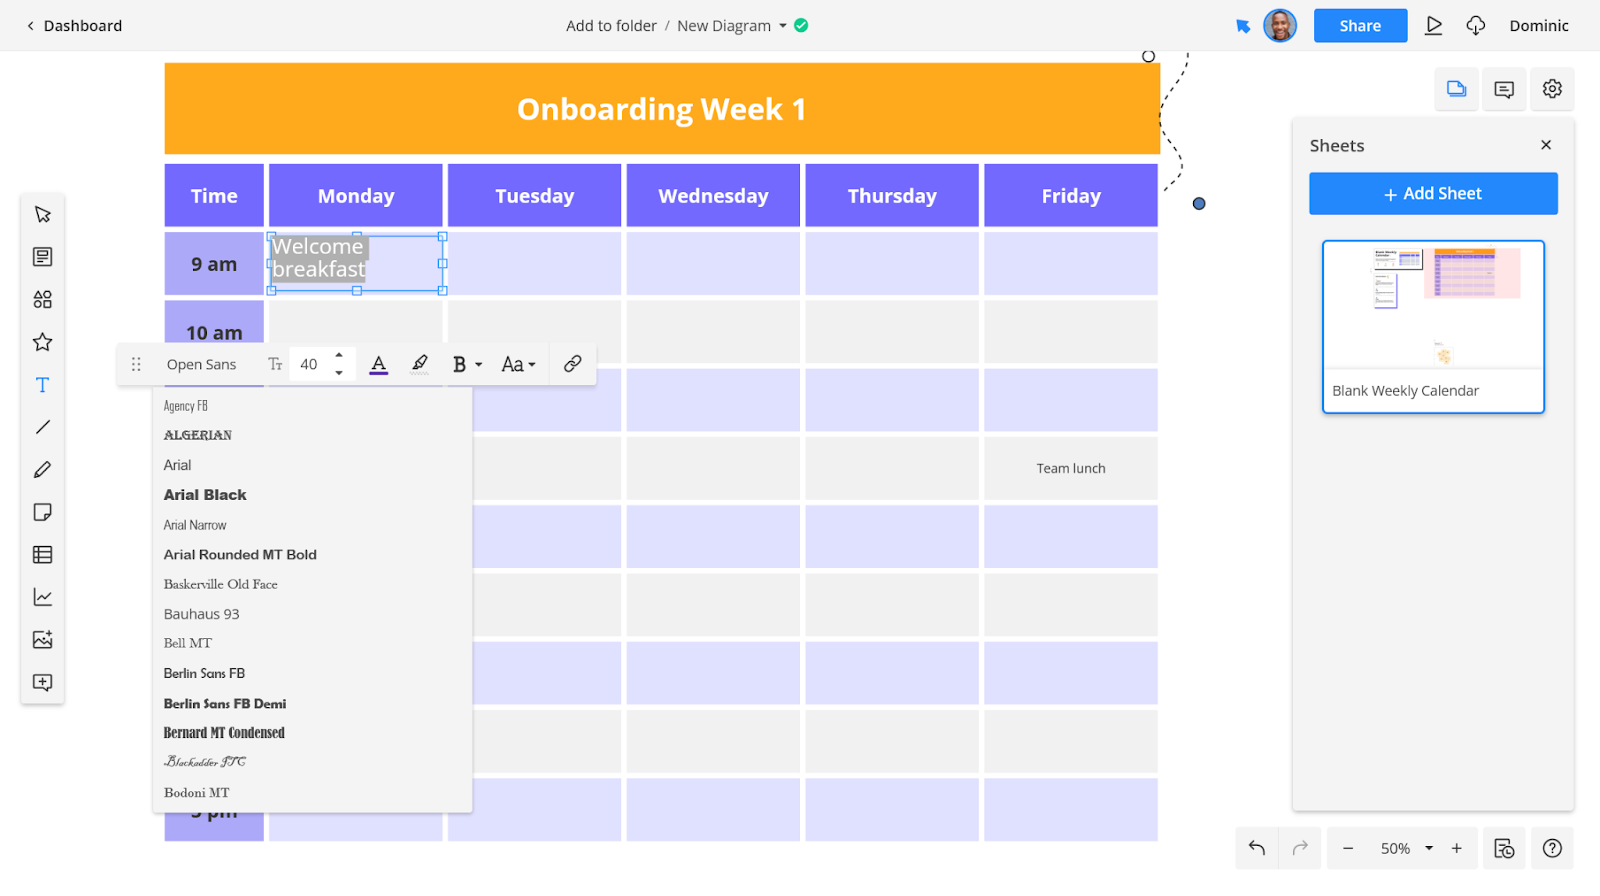
Use the toolbar on the left-hand side of your screen to add new elements to your design. To add new text, select the T icon, draw your text box where you’d like to place it, and then start typing. A text editor menu will appear, allowing you to customize the appearance by changing fonts, text sizes, etc.
You can customize further by adding illustrative shapes. For this example, let’s add an arrow to show the duration of our scheduled welcome breakfast event.
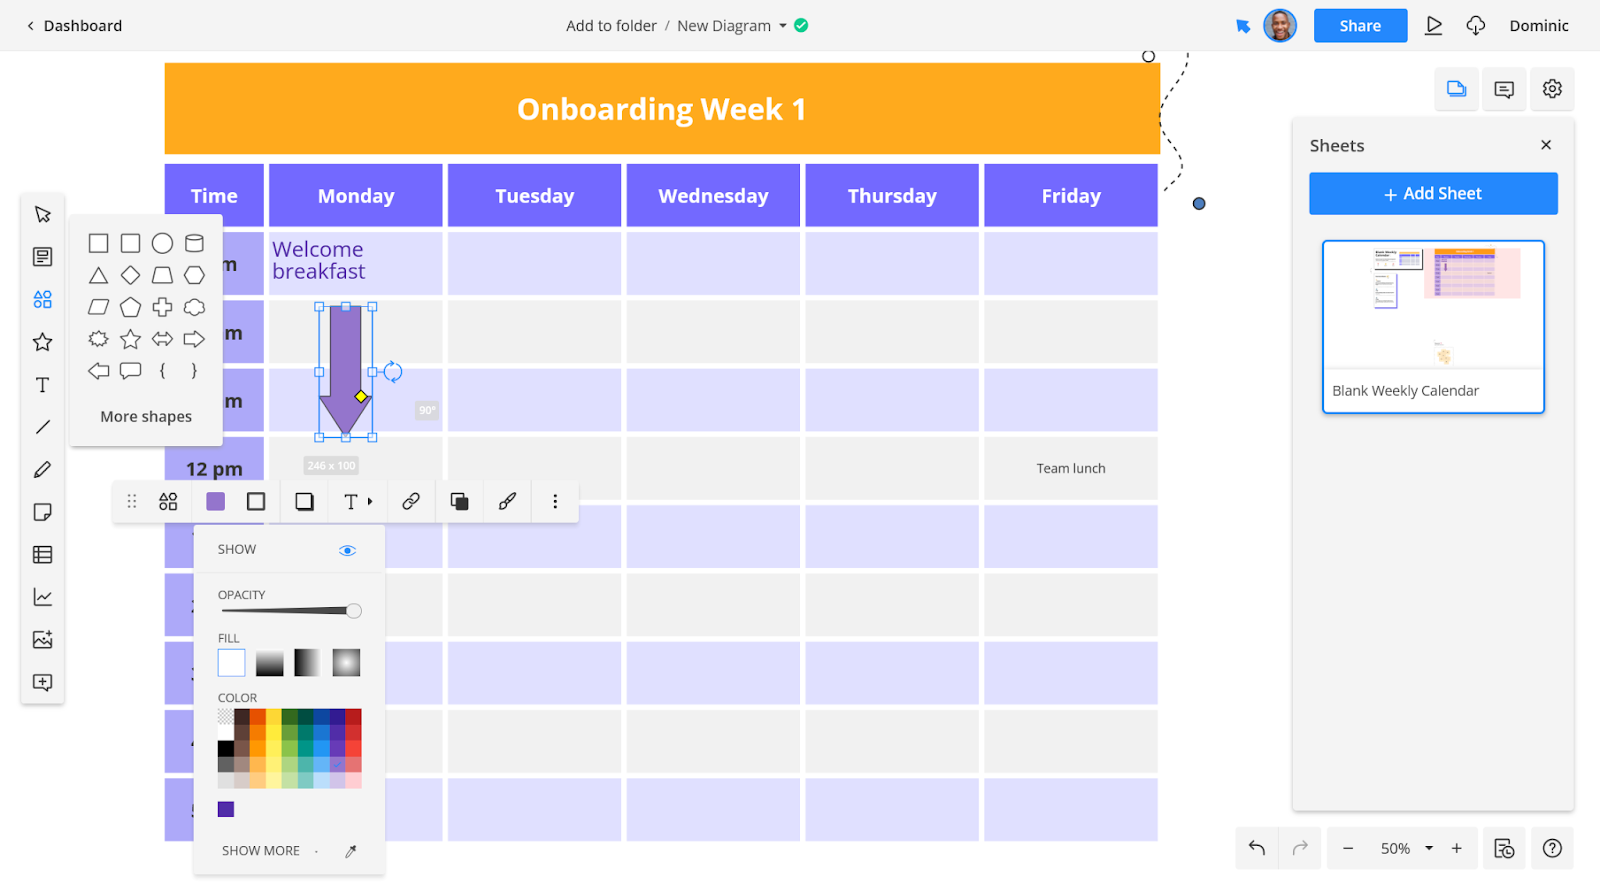
When you select a shape, it will appear in the center of the screen. Click and drag to move or rotate it into position. When the shape is selected, an editor menu will appear. (In the image above, we rotated it and turned it purple). This drag-and-drop editor is very intuitive, making it easy for everyone to learn how to use Cacoo quickly.
Use the connector tool to show a relationship between two elements – for example, if you’d prefer to depict your onboarding process as a flow chart.
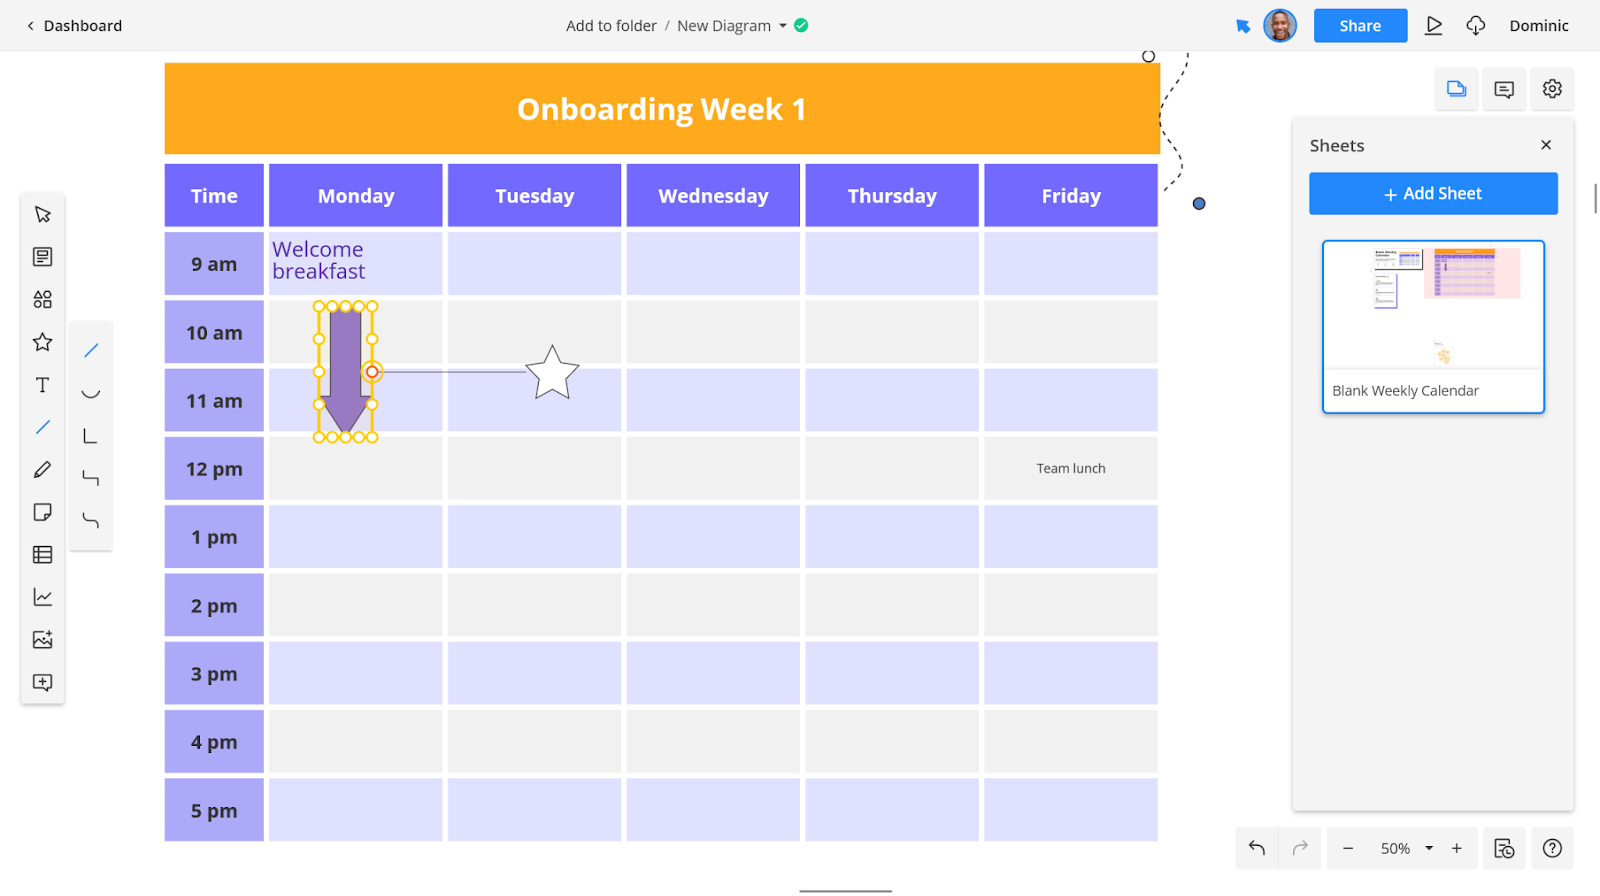
First, select the connector icon from the left menu (it looks like a diagonal line) and your preferred style. Then, select the first element you want to connect. A yellow box will appear around it, highlighting various connection points. Choose one, and draw a line connecting to the second element.
Once you’ve connected two design elements, the line will move with it whenever you move one of them.
If you need to move more than one element at a time, you can group them. To do this, choose the cursor icon from the left menu. Then, draw a box around all the elements you want to group. Now, you can move, edit, or delete them together.
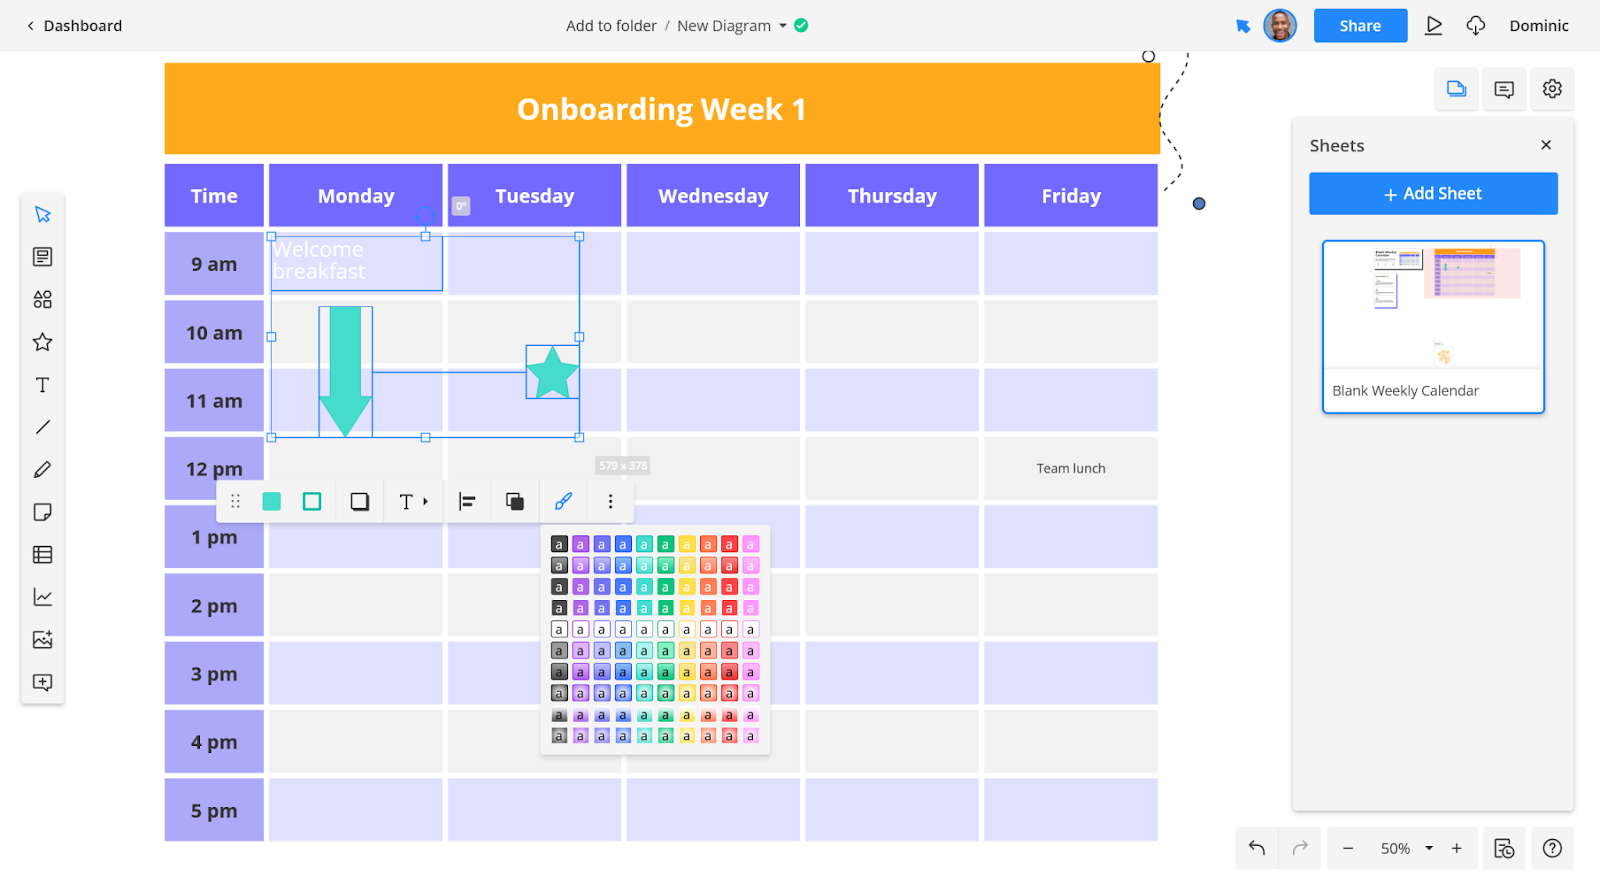
In this example, we selected a text box and two shapes, then used the styles menu (the paintbrush) to turn them turquoise.
Once you’re satisfied with your onboarding process flow, it’s time to move on to the next step: gathering feedback using Cacoo’s collaboration and sharing features.
How to Share and Collaborate on an Onboarding Process Flow with Cacoo
Cacoo makes it easy to share your designs and collect feedback synchronously and asynchronously. It’s the perfect tool for remote and hybrid teams, ensuring everyone can stay in touch, no matter where (or when) they work.
First, you’ll need to ensure all your team members can access Cacoo. You can do this by updating your settings.
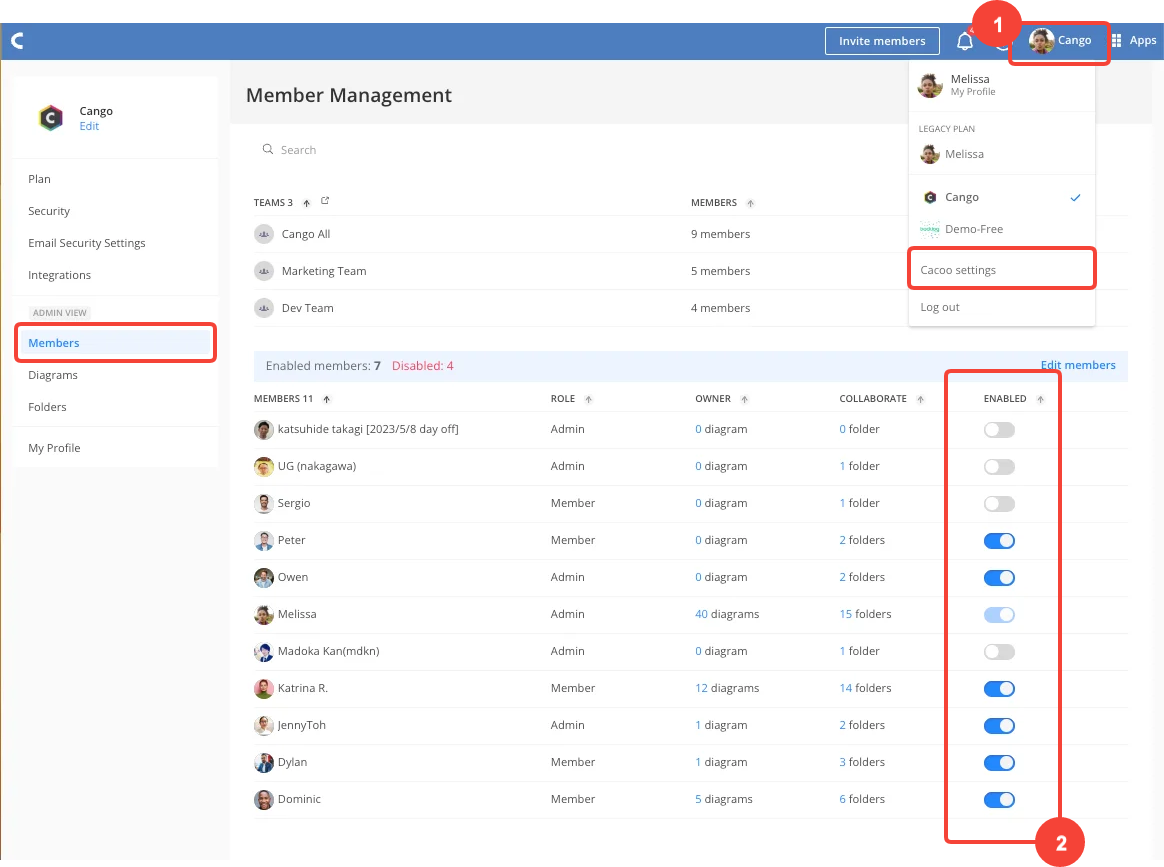
First, use the Global Navigation to access the Cacoo settings menu. Then, open the Member Management tab.
Here, you’ll see all the members within your Nulab Organization—that is, all the users you’ve added to Nulab, including those who only use Backlog – Nulab’s project management software. Toggle the Enabled button to grant Cacoo access to anyone who needs it.
Now open your design, and click Share at the top of the screen.

This will open up an overlay window that contains a few options.
We want to gather feedback within Cacoo, so we’ll use the collaborators tab.
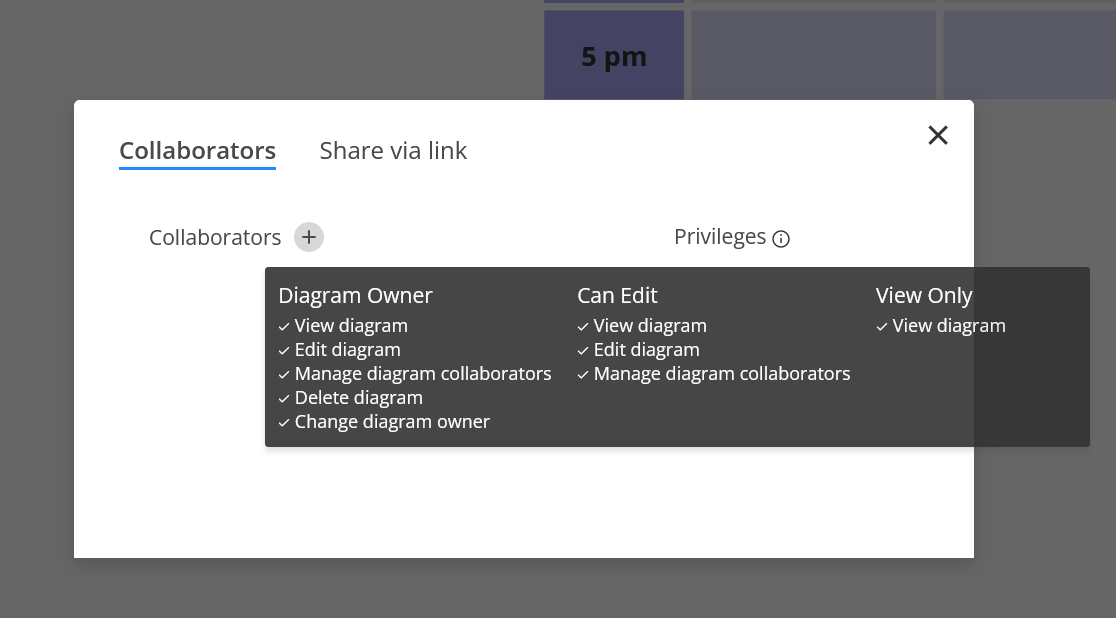
To add a collaborator, click the + icon and search for them by name. Then, tailor their privileges:
- Diagram owner: has full access, including adding new collaborators, editing, deleting, or reassigning ownership
- Can Edit: The user can view, edit, manage collaborators, and leave comments but cannot delete or assign ownership
- View Only: Cannot make edits or manage collaborators, but can leave comments
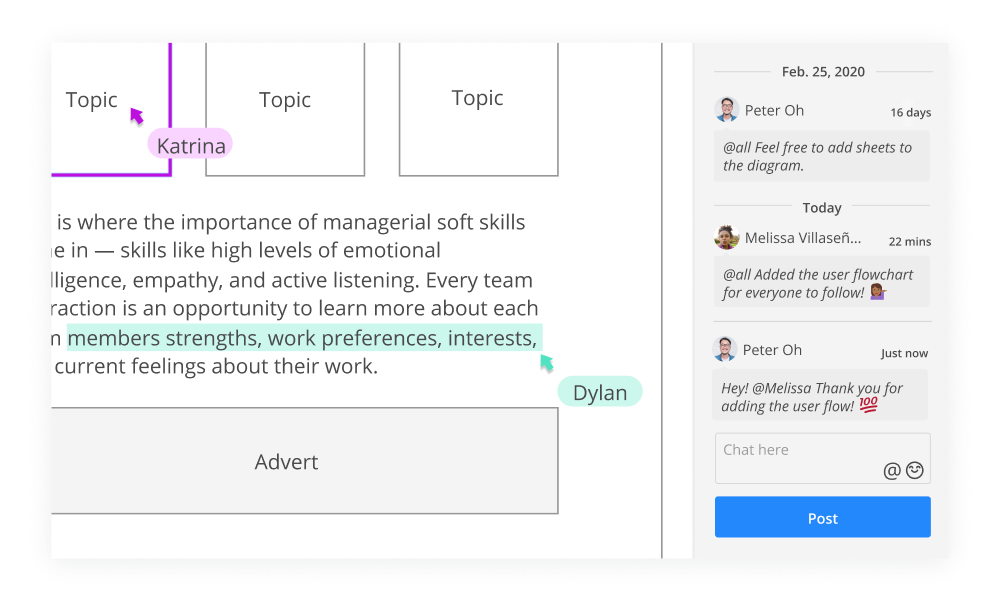
Once your team has access, they can make changes (as long as they have editing permissions), leave comments directly on the diagram, and chat to share real-time feedback. Users can see each other’s cursors move around the screen in real time and understand who changed the diagram and when, with Cacoo’s built-in version history tools. It’s a better, more effective way to work that centralizes all your team’s communications into one platform.
If you prefer to collaborate and make your edits together in real time, Cacoo offers built-in video conferencing. Start a video conference directly from the Cacoo app when your team needs to discuss your onboarding flowchart in real time.
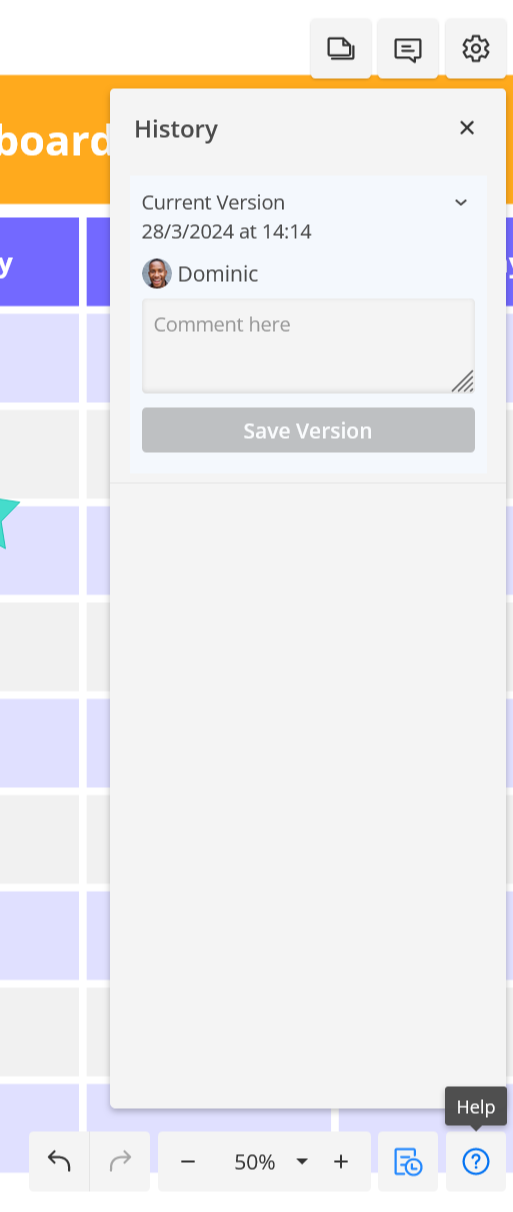
You’ll be able to track and even revert all changes made by your team using the History feature, which you can find in the bottom right corner.
Let’s say you head on vacation for a few days and delegate work on your onboarding flowchart to other team members. If any changes are made in your absence, Cacoo can alert you in two ways.
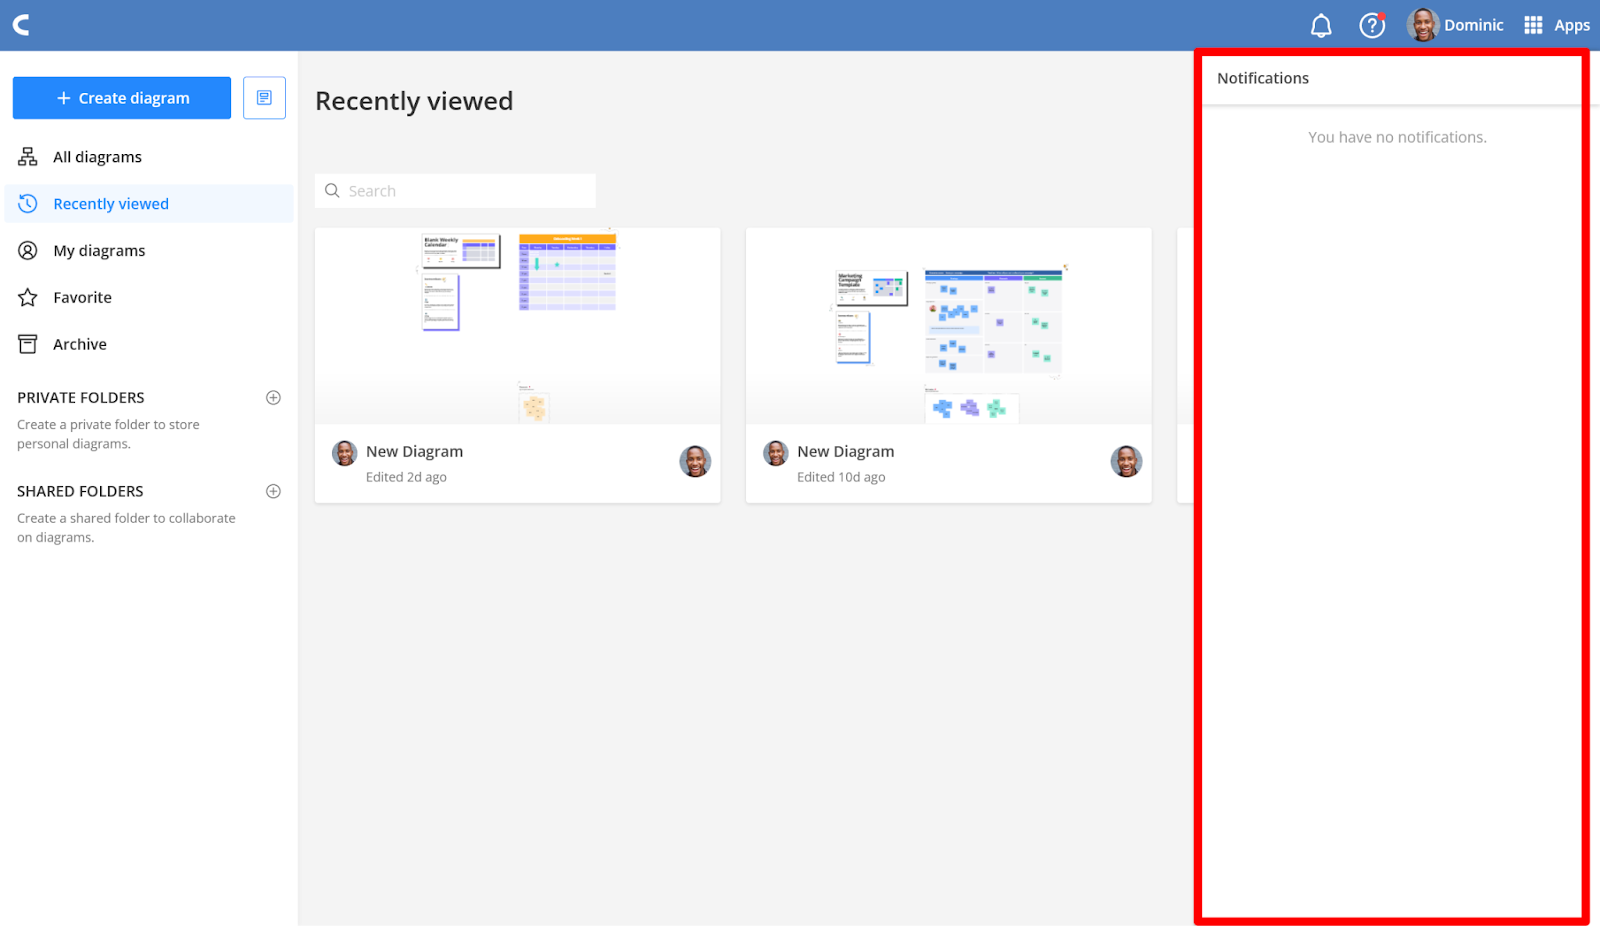
First, any updates to your designs or those you get access to will generate an in-app notification, which you can find in the notification tray on your dashboard by clicking the bell icon.
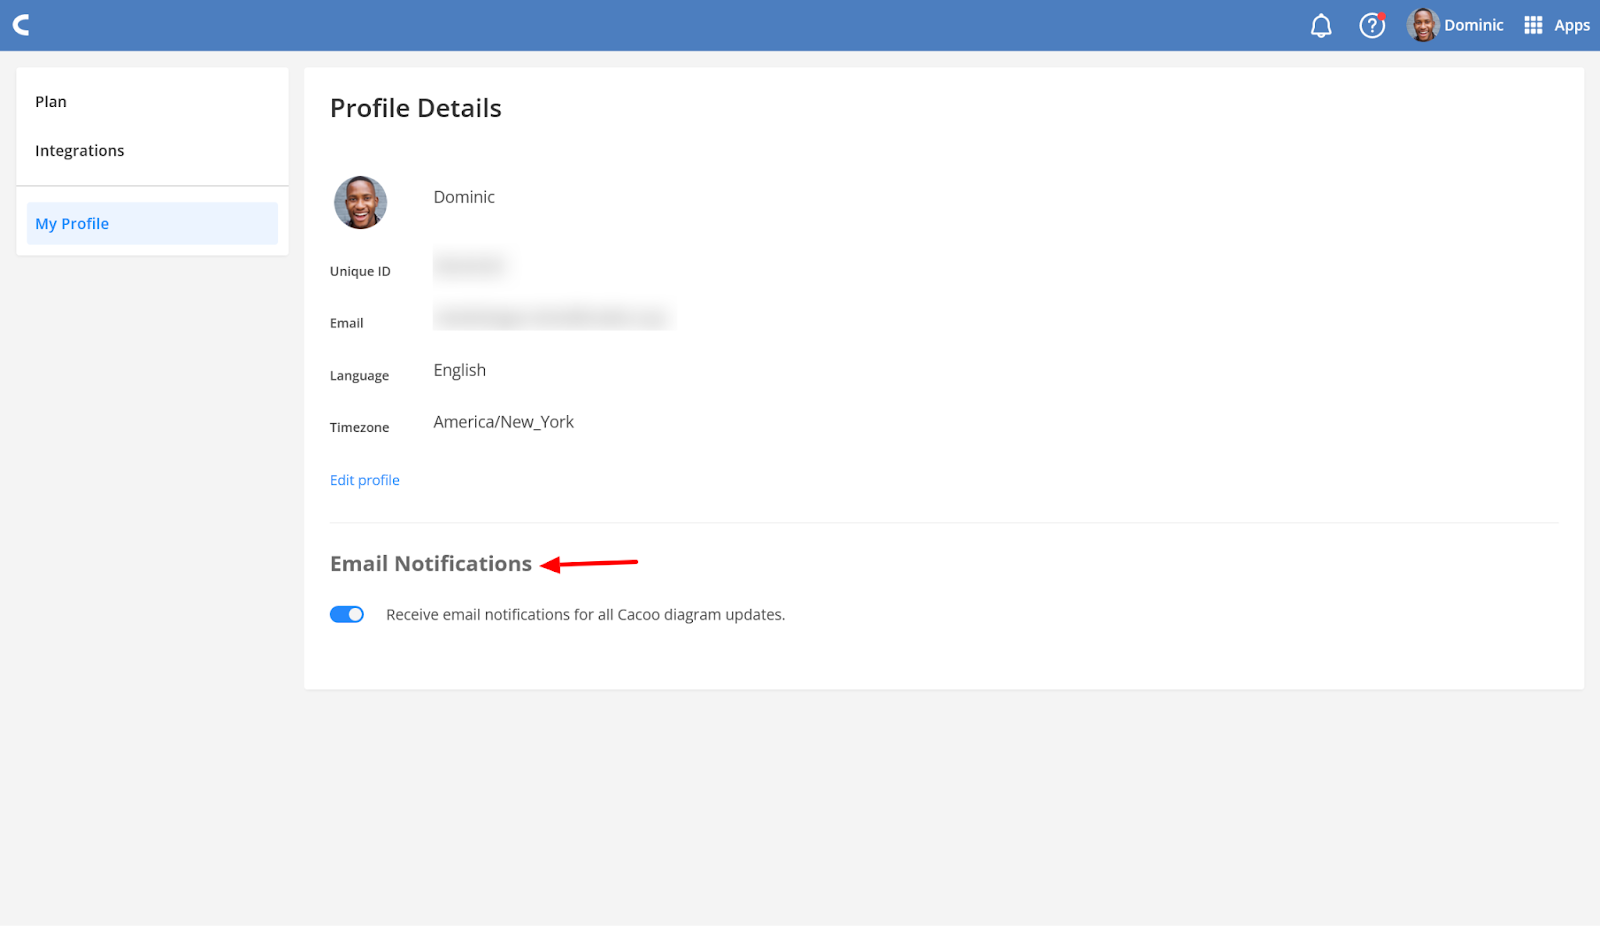
Second, you and your team can opt into email notifications by opening the Cacoo Settings menu and the My Profile tab.
And if you’d like, you can also set up notifications in messaging apps like Slack and Microsoft Teams – just visit our Integrations Center to browse all options and view step-by-step instructions for each platform.
Once you’ve finalized your onboarding flowchart, you’ve got several options for sharing your work.
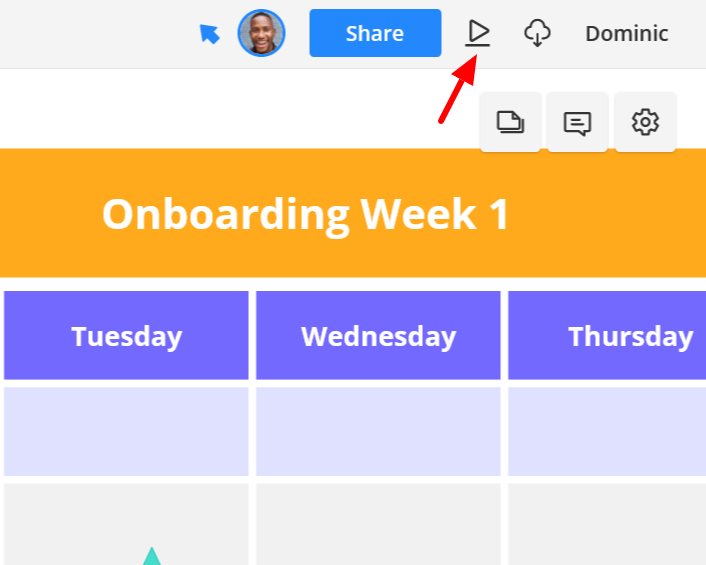
First, use presentation mode to present your completed designs, either in person or via screen sharing through video chat. Just click the play button to activate presentation mode.
Next, create shareable links to your designs via the Share feature, which we used earlier to add collaborators.
Instead of the Collaborators tab this time, use the Share via Link tab.
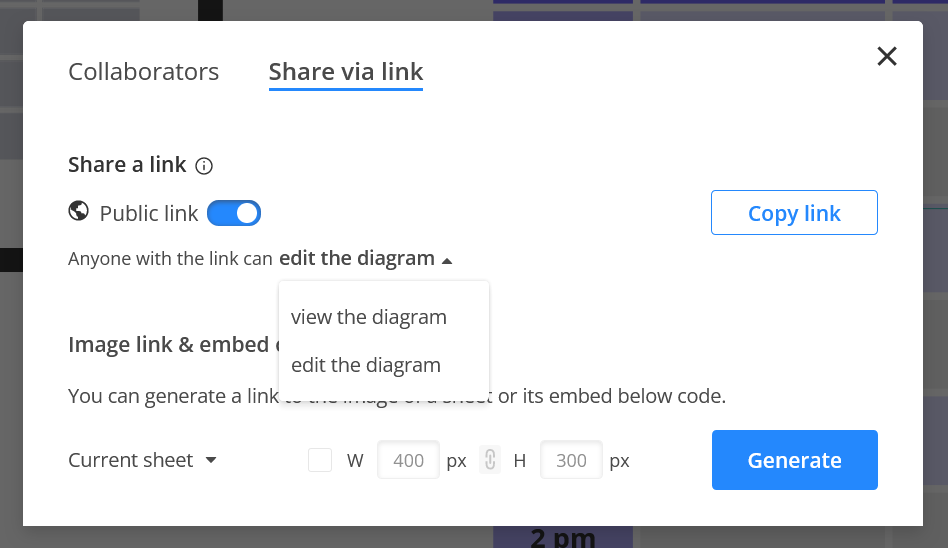
This will allow you to:
- Invite people to view or edit your design on Cacoo
- Share the image directly to a Backlog project or task
- Embed your image on any web page, such as a blog or landing page describing the onboarding process. You might also add this to an onboarding wiki that serves as the hub for all your onboarding information.
Now, you’re ready to launch your updated onboarding process using your newly created Cacoo assets.
How to Optimize and Update Your Onboarding Process Flow with Cacoo
As your company grows and you continue to add new employees to your team, your onboarding needs will evolve. The initial process you outlined and the designs you created to help it go smoothly will not always be up-to-date and accurate. That’s a good thing – it’s a sign your business is growing!
Luckily, with Cacoo, you can review and update your diagrams at any time. And when you update your diagrams in Cacoo, they’ll update wherever they’re displayed, whether in a wiki or a Backlog task.
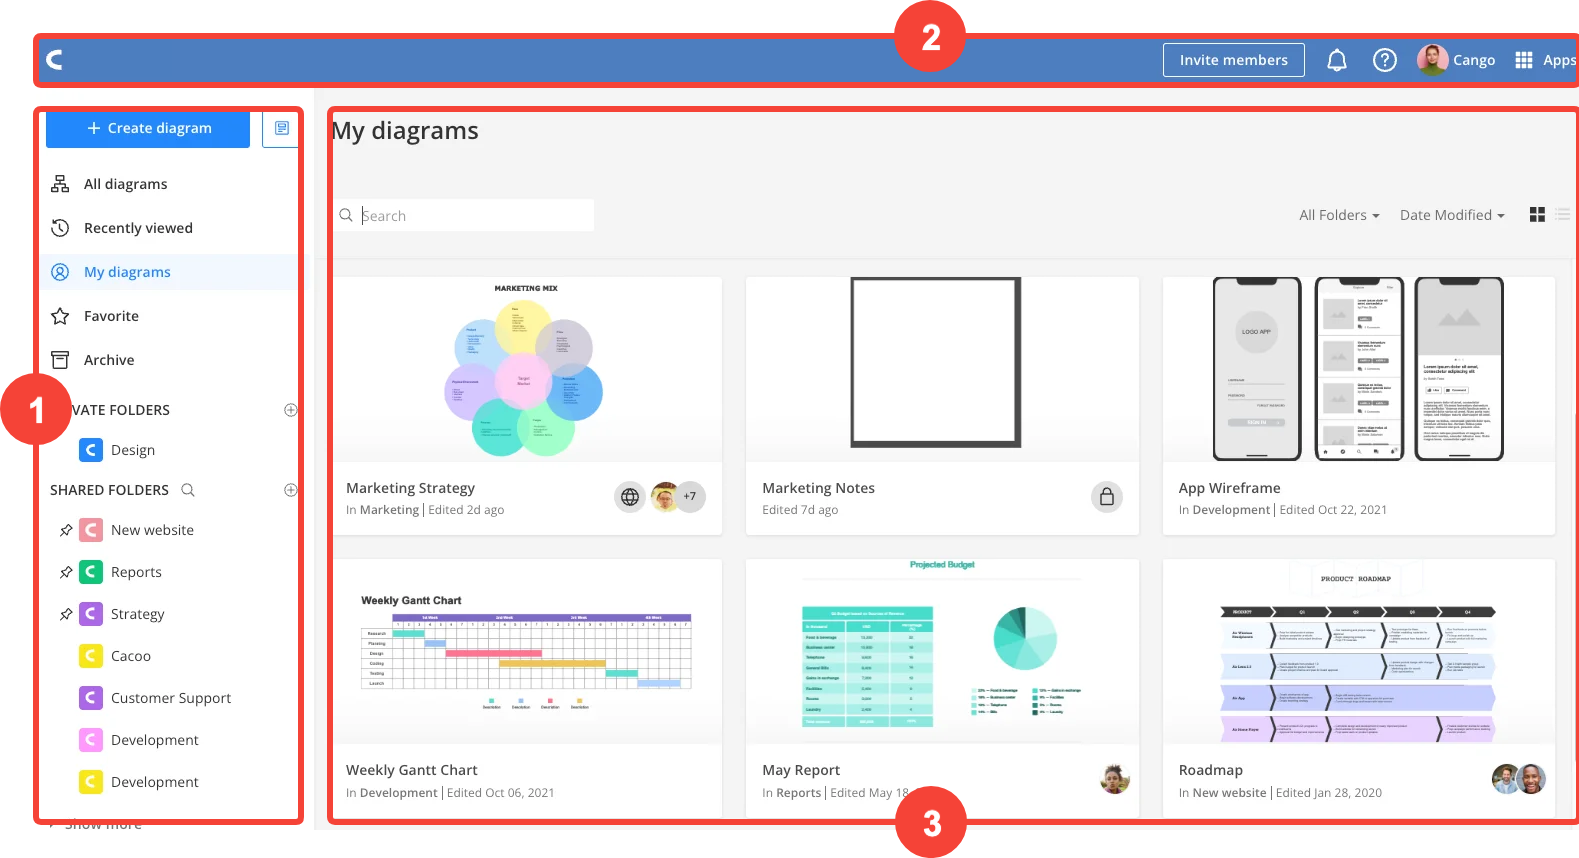
Access the designs, folders, and diagrams others have shared via your dashboard.
Here are a few tips to keep your onboarding process fresh:
- At the end of each round of onboarding, ask any involved team members (trainers, HR, etc.) to review and comment on your designs to suggest updates or improvements.
- Create easy-to-update templates to allow team leaders to modify onboarding assets specifically for their team’s needs.
- Ask your new team members which resources were most and least helpful, and create new designs to address their areas of confusion.
Finally, rest assured that all your designs are safe and secure when stored in Cacoo. Nulab encrypts all diagrams created and shared with HTTPS and regularly secures, updates, and backs up data centers.
For more details, review Cacoo’s Security Policy.
Illustrate a smoother onboarding experience with Cacoo
Onboarding doesn’t need to be stressful or confusing. With easy-to-comprehend diagrams, training materials, and other assets created in Cacoo, you can make the process much more straightforward for trainers and recruits alike.
If you put in effort to do this the right way, you’re not just saving your team time: you’re creating a much better onboarding experience for new employees, which helps them hit the ground running in their new roles.
Cacoo’s user-friendly platform, robust template library, and flexible design interface make it easy to create the assets you need, even if you’re not a designer. The simple drag-and-drop interface and powerful collaboration tools help your team work together closely to design the perfect materials to welcome your new employees.
Ready to get started? Start a free trial to see for yourself, or browse our paid plans to find the best option for your team’s needs.

