How to define project activities and milestones as a project manager

Georgina Guthrie
November 18, 2022
If project management is like a car, then the project activities that take place within it are like gears. Just as you need to use the correct gear when driving a car, you need to use the correct activity when managing a project. Try using the wrong one, and…crunch…you stall.
Activities drive your project forward. They’re the tasks and subtasks helping you reach the finish line. And much like working your way through gears while driving up a hill, you need to implement them one after the other in the right order.
In this article, we’re going to take a look at what project activities are, how to go about defining them, and some tips to ensure they’re carried out as efficiently as possible.
What are project activities?
In simple terms, project activities are the individual actions you must complete to achieve project success. Each activity will count as a project stage consisting of tasks and subtasks that all contribute to the activity’s completion.
Project activities range from something as small and seemingly inconsequential as sending an email to much larger tasks, like building a prototype or conducting user testing. But no matter how big or small they may be, these activities need to have the same level of care and attention.
Once you define the activities, you’ll break them down into various tasks, each one with its own scope definition. You’ll then put them in order and get sign-off from internal and external stakeholders. After that, it’s project kickoff, during which the project manager tracks each activity as the project progresses.
Why are project activities important?
Project activities are important because they ensure a project crosses the finish line on time, within scope, and to a high standard.
By breaking down a project into manageable chunks, it becomes much easier to track progress and identify potential issues. It’s also worth noting that, as the project manager, you’re accountable for any delays or problems that occur. Therefore, it’s in your best interests to make sure everything runs as smoothly as possible!
What is scope creep?
Scope creep happens when the project starts to expand without any corresponding increase in the budget or timeline. It’s a major problem for project managers, as it can lead to projects being over budget and behind schedule.
What’s the difference between project activities and milestones?
An activity is a stage that goes into completing the project. It consists of tasks and subtasks. A milestone is a point in time when a project reaches a major goal. Project milestones are useful for tracking progress, identifying setbacks, and monitoring the budget.
Here’s where activities and milestones fit into the overall project hierarchy:
- Project
- Milestones
- Activities
- Tasks
- Subtasks
Activity planning: three popular methods you need to know
The first step in any project is to sit down and figure out exactly what you need to do for it to be successful. This process is known as scope definition, and it’s absolutely essential in ensuring your project runs smoothly.
There are a few different methods for defining the project scope and its associated activities. The three most popular ones are as follows:
- The waterfall method
- The agile/scrum method
- The hybrid method
The Waterfall Method
The waterfall method is the traditional way of project management. It’s linear and involves completing the different project stages one after the other in a very specific order. The stages typically include:
- Conception/Initiation
- Planning
- Execution/Implementation
- Monitoring and Controlling
- Closure
The waterfall method works well for projects with clearly defined requirements, where changes are costly and time-consuming to implement.
The Agile/Scrum Method
In contrast to the waterfall method, the agile/scrum method is much more flexible. It’s designed to allow for constant feedback and adaptation, which makes it ideal for projects that are likely to undergo changes along the way.
The agile/scrum method is based on sprints, which are set periods of time (usually two to four weeks) in which the team needs to complete specific tasks. At the end of each sprint, the team assesses their progress and identifies areas in need of improvement during a review period.
This feedback loop enables a much more adaptable approach to project management, as teams can quickly adjust to changes as they occur.
- Check out our guide to Agile project management for more tips
The Hybrid Method
As you might have guessed, the hybrid method is a combination of the waterfall and agile/scrum methods. It’s designed to take the best aspects of both approaches and combine them into one.
The hybrid method is usually used for larger projects that require a high level of flexibility. It begins with a waterfall-style planning phase, in which the stages are defined in detail. Once this structured plan is in place, the team switches to an agile/scrum approach, using sprints to complete the tasks. The hybrid method creates clear direction to help the project stay on track while still allowing plenty of flexibility in case of changes.
How to define your project activities (tips and essential stages)
When working on a project, one of the first things you’ll do is create an activity list — which is exactly what it sounds like.
An activity list is a list of activities and a definition of each activity’s scope. There are six common steps that go into activity planning:
- Define your baseline. The baseline is the starting point of your project and provides criteria for how things are going.
- Create activity sequences. Once you define the broad activities, you can define the smaller tasks that move the project forward. Most project managers use a work breakdown structure to organize the activity sequence.
- Estimate resources. What resources do you need to complete each activity? This could include materials, people, money, venues, etc.
- Develop a timeline. How long will each activity take? Use this information to create a schedule, building in a time cushion when possible to account for unexpected changes.
- Set up a communication plan. Collaboration is the golden thread that holds the project together, and no activity exists in isolation.
- Control the schedule. As the project progresses, you’ll need to keep an eye on the schedule and make changes where necessary.
Here are a few tips and tools to help you execute the steps outlined above:
1. Define your project baseline
A project baseline is a starting point for your project and a document against which you’ll measure all progress as your project progresses. It will contain your project scope, budget, resources, deliverables, and deadlines. Think of it as a project roadmap to success. Project activities might change along the way, but so long as you keep your sights on the finish line, you’ll pull through.
- Check out our guide on how to set a project baseline for more tips.
2. Create activity sequences with a work breakdown structure
A work breakdown structure (WBS) is a tool for dividing complex projects into smaller, more manageable parts. It’s often used in conjunction with a Gantt chart to create a visual representation of the project timeline.
One of the benefits of using a WBS is that it can help to identify potential risks at an early stage. It also ensures everyone involved understands their responsibilities — an absolute must when working on big projects with lots of moving parts!
There are a few different methods you can use to create a WBS, but one of the most popular is the ‘top-down’ approach. This method involves starting with the project as a whole and breaking it down into smaller and smaller pieces.
For example, if you were working on a project to build a new website, your WBS might look something like this:
- Create wireframes
- Design homepage
- Design landing pages
- Design blog template
- Design email template
- Coding
- Add content
- Test site
- Launch site
As you can see, each task appears as an individual element. This makes it much easier to manage and track the progress of the project. You’ll then split these tasks into smaller subtasks, each with its own deliverable and deadline.
3. Estimate resources
Resource planning means having a firm grip on time, cost, and scope. Knowing what you have to work with will make it easier to assign tasks and work out deadlines. Be sure to consult the wider team during this stage. They’ll likely give you valuable insight into how they work and the time and tools they’ll need to complete jobs.
4. Develop a timeline
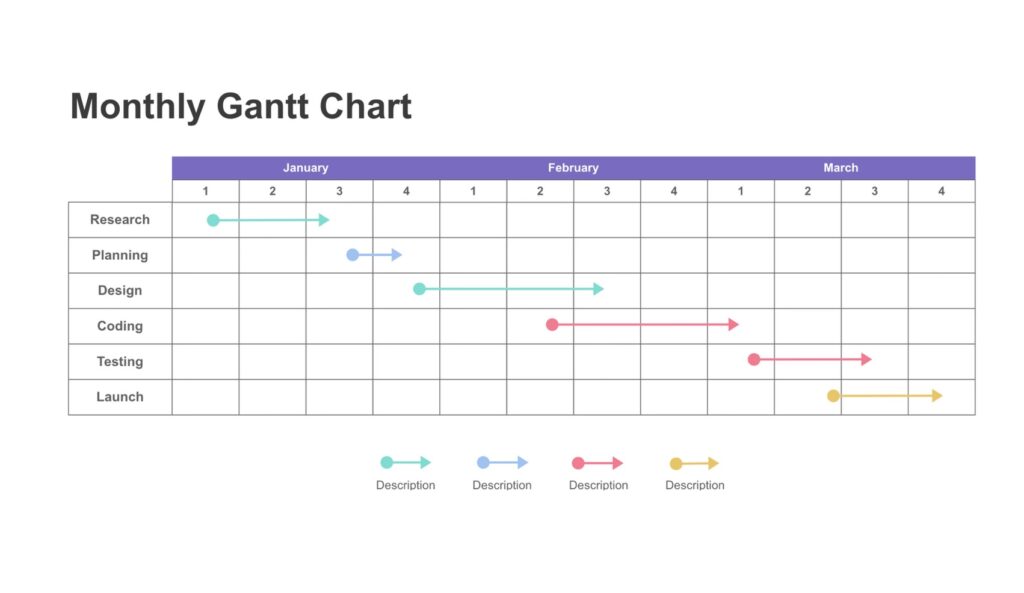
Once you have a full activity list, start thinking about how to schedule your project timeline. A Gantt chart is a type of bar chart that provides a visual outline of project tasks, including deadlines and durations.
Creating a Gantt chart is a great way to get an overview of your project during the planning stage and get everyone on the same page after the project kickoff. It can also be helpful for identifying potential bottlenecks and areas where tasks might overlap.
5. Set up a communication plan
Effective communication is essential for any project, no matter how big or small. Without it, team members will quickly become frustrated, and tasks will start to slip through the cracks.
When setting up a plan, identify the communication channels your team will use (e.g. email, chat app, etc.), and outline how often communication should take place. It’s also a good idea to appoint a project manager who’s responsible for keeping everyone up to date.
6. Control your schedule
Staying organized is crucial yet easy to overlook when a million different things are going on at once. Closely managing your project schedule, tasks, and deadlines will give you more flexibility to deal with problems or pivot if the project requirements change.
Create a central place where you can store all project-related information. This could be a physical folder or binder. Or, since this is 2022 and not 1980, you can use cloud storage, such as a shared Google Drive folder or project management software.
There are many project management programs available, each with handy features to make your life a lot easier, thanks to templates, automation, notifications, task management, and more.
When choosing, pick software that’s compatible with the other tools you’re using. For example, if you’re using a chat app for communication, it makes sense to choose a project management program that integrates with it. The more streamlined you can make your team, the easier it’ll be to cross those project activities off your to-do list!

