Create a local repository
Now, let’s create a local repository and put it under the Git version control so we can use it throughout the rest of this tutorial.
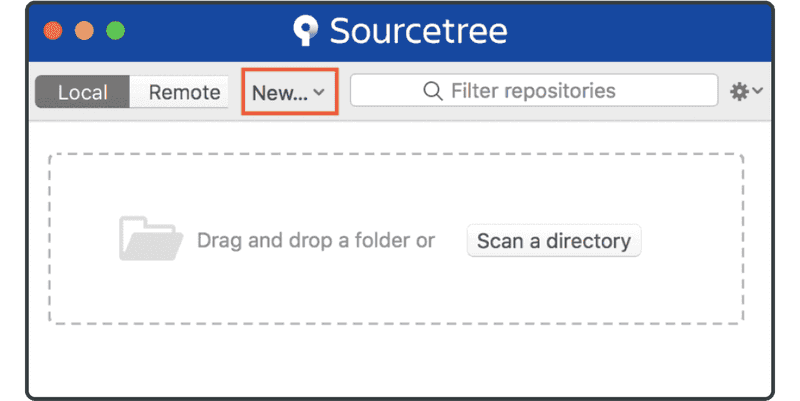
If you have followed the installation tutorial so far, go back to the Sourcetree app window, otherwise open it by launching the application. Then click “New…” on the top left of the bookmarks list window. Alternatively, you can choose File > New from the menu bar.
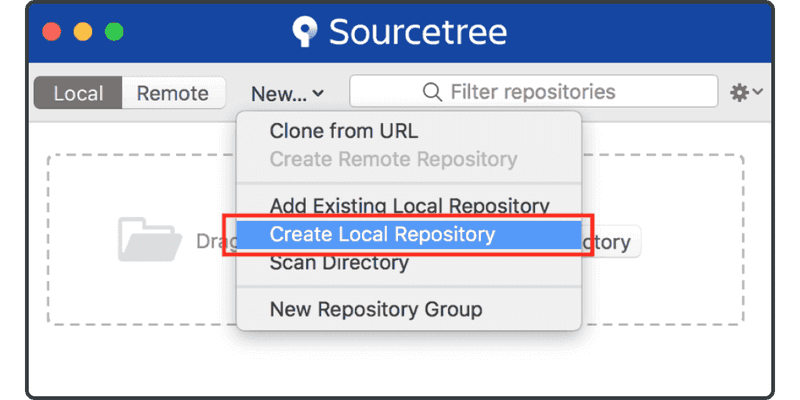
Select “Create Local Repository.”
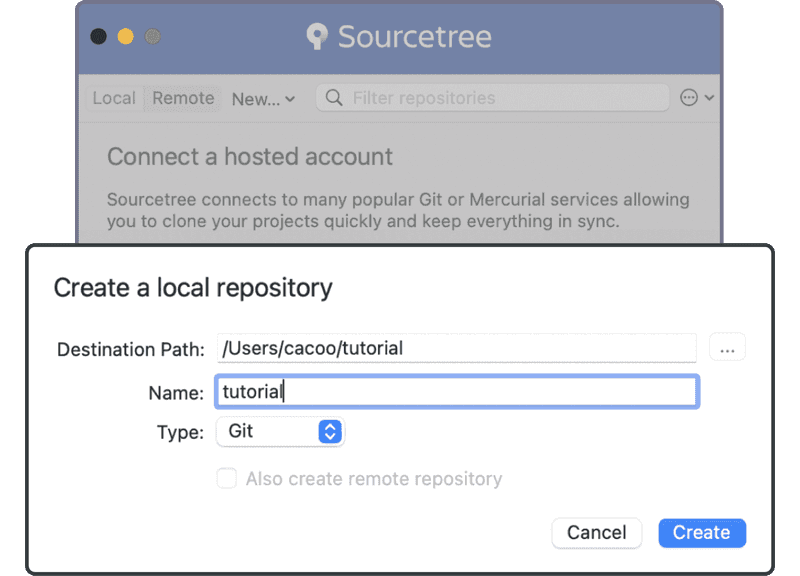
Enter the target directory name tutorial to create a local repository. If the directory doesn’t already exist, Sourcetree will create it for you.
Make sure the repository's path is what you want it to be. Sourcetree might choose your home directory as default. Be careful not to initialize a Git repository in your home directory; otherwise, it might take a while before Sourcetree finishes indicizing it, and then the repository will appear as nonempty. If the “Destination Path” field is set to your home directory, make sure to append “/tutorial” at the end to instruct Sourcetree to create a new empty directory there. Finally, click the “Create” button.
The new repository will now be in the bookmarks list.
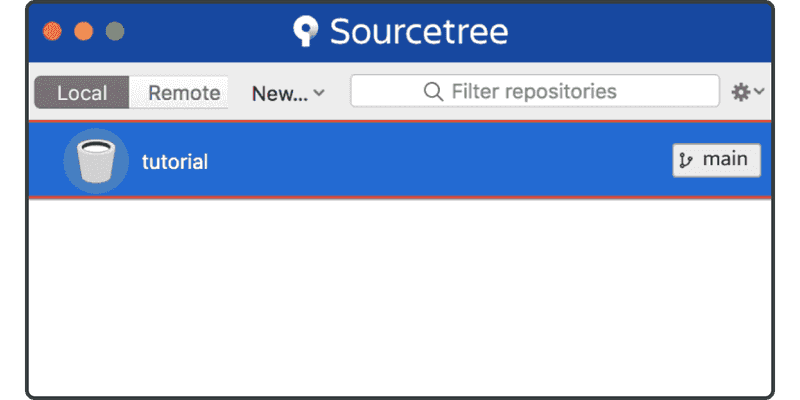
Now you’re ready to commit files to the repository.