推送到遠端儲存庫
讓我們推送到您在本教程的開頭時建立的本地儲存庫。
使用 git remote 指令和tutorial儲存庫的 URL 來註冊一個別名為origin的遠端儲存庫。
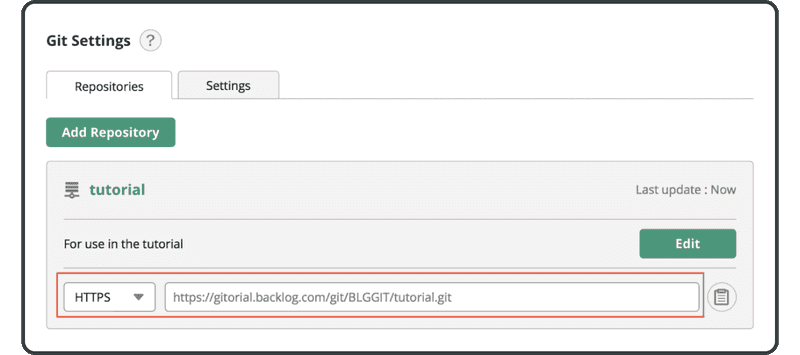
$ git remote add origin https://[your_space_id].backlog.com/git/[your_project_key]/tutorial.git
如果您在主控台上,如果您在推送/拉取時省略了遠端名稱,則在預設情況下將會使用origin遠端儲存庫。這是因為慣例通常使用origin作為遠端名稱。
接下來,使用 git push 指令將提交推送到遠端儲存庫origin。
指定要推送到的分支名稱。(我們將在下個章節中更深入地討論分支。)如果在執行指令時指定「-u」選項,則下次推送到遠端儲存庫時可以省略分支名稱。但是,當您推送到一個空的遠端時,您必須指定遠端儲存庫和分支名稱。
如果系統要求您提供使用者名稱和密碼時,請輸入您的 Backlog 使者用憑證。
$ git push -u origin main
  Username:
  Password:
  Counting objects: 3, done.
  Writing objects: 100% (3/3), 245 bytes, done.
  Total 3 (delta 0), reused 0 (delta 0)
  To https://example.backlog.com/git/BLGGIT/tutorial.git
    * [new branch]      main -> main
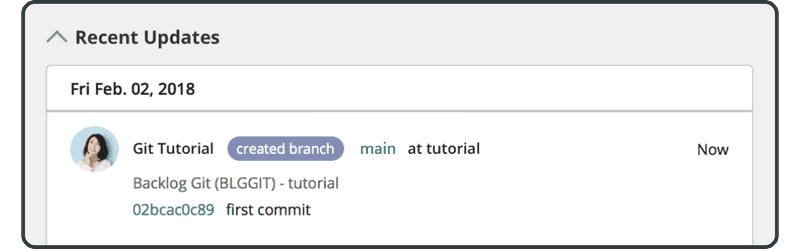
開啟 Backlog 上的 Git 頁面,您會發現在「Recent Updates」下面,列出了一個與您推送到遠端儲存庫相對應的最新更新。
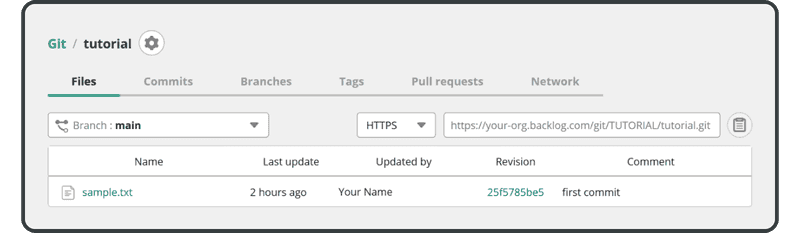
進入 Git 頁面後,單擊進入教程儲存庫,並導航到 Files 選項卡。推送的檔案也會出現在該選項卡中。
接下來,我們將克隆這個遠端儲存庫。