Install Git
For this tutorial, you will need the TortoiseGit installer and msysgit on your computer.
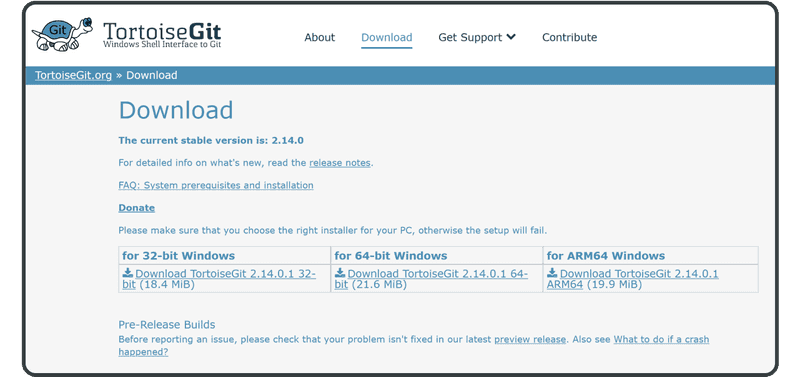
- TortoiseGit: tortoisegit.org
- Msysgit: gitforwindows.org
First, download the TortoiseGit installer. Depending on your Windows OS, decide between the 32-bit or 64-bit version.
Once downloaded, double-click the installer file, and the Setup Wizard will display.
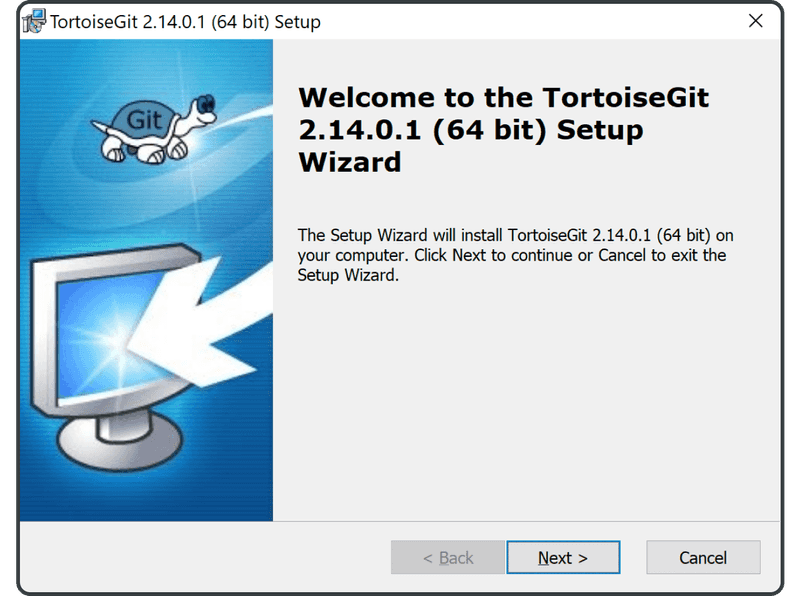
Click “Next.”
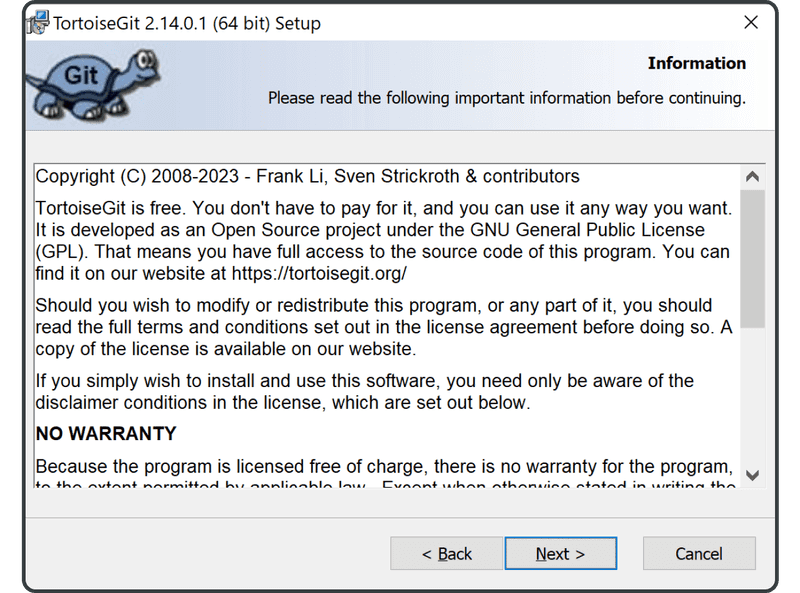
Click “Next” again on the following screen.
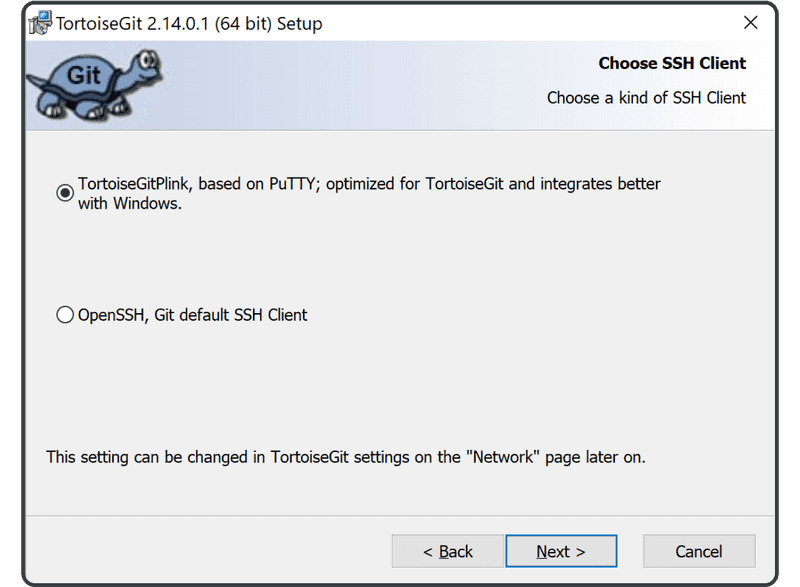
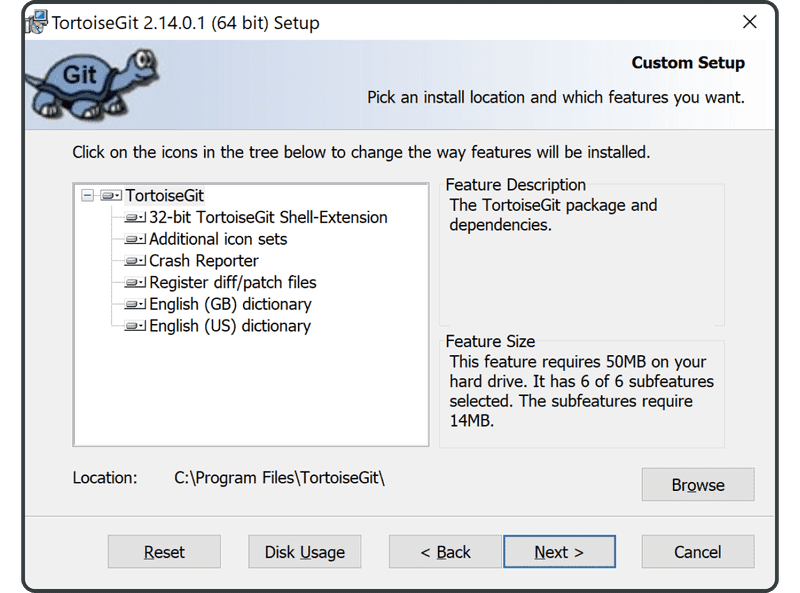
Then, select “TortoisePLink” and click “Next.”
Click “Next” again.
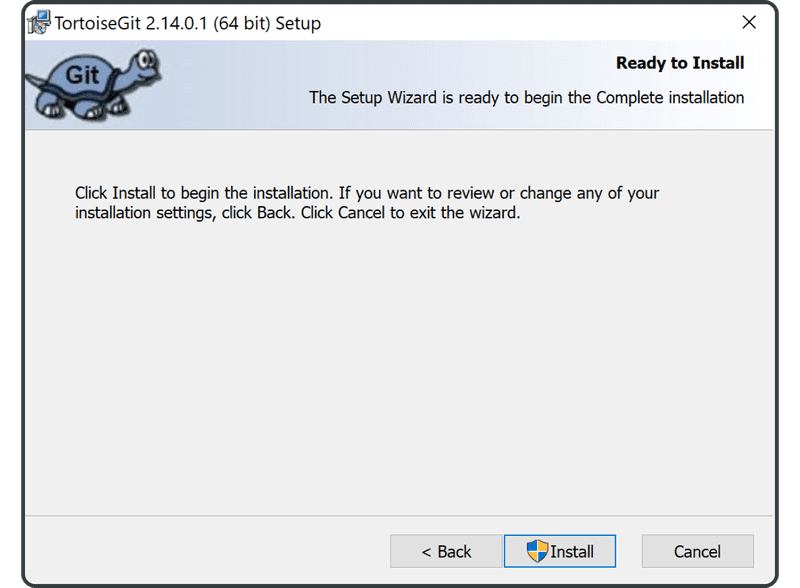
Click “Install.”
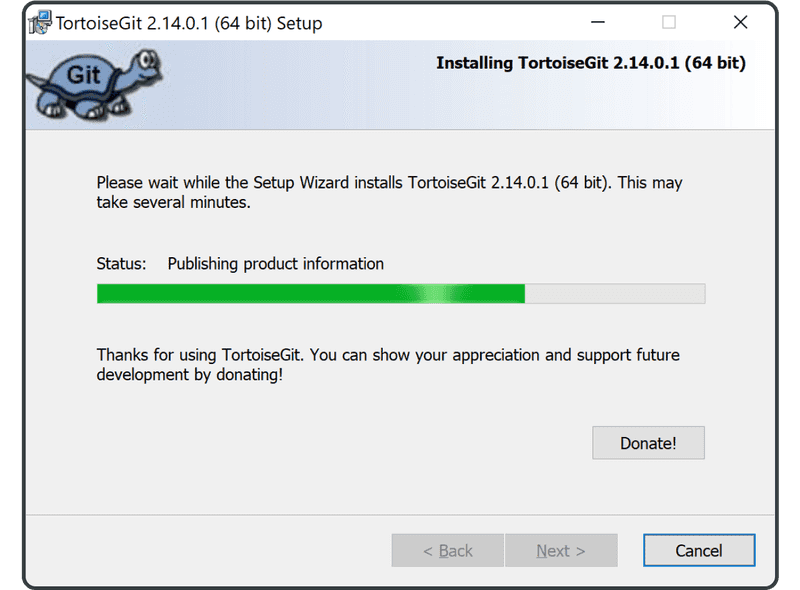
The installation will begin. In some cases, TortoiseGit will look for Windows user certification. If that happens, click “Accept” to continue with the installation.
Once the installation is complete, click “Finish” to exit.

Now you have Git on your machine!