Default settings
Next, set your default username and e-mail address so that Git can identify the person committing changes.
This setup only needs to be done once.
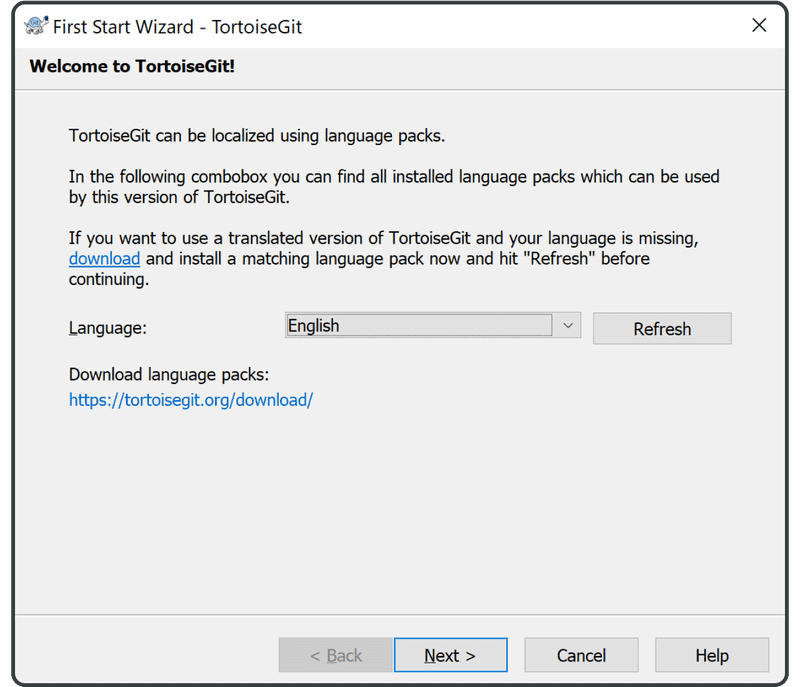
From the right-click menu, click “TortoiseGit” > “Settings.”
Select your language and click “Next.”
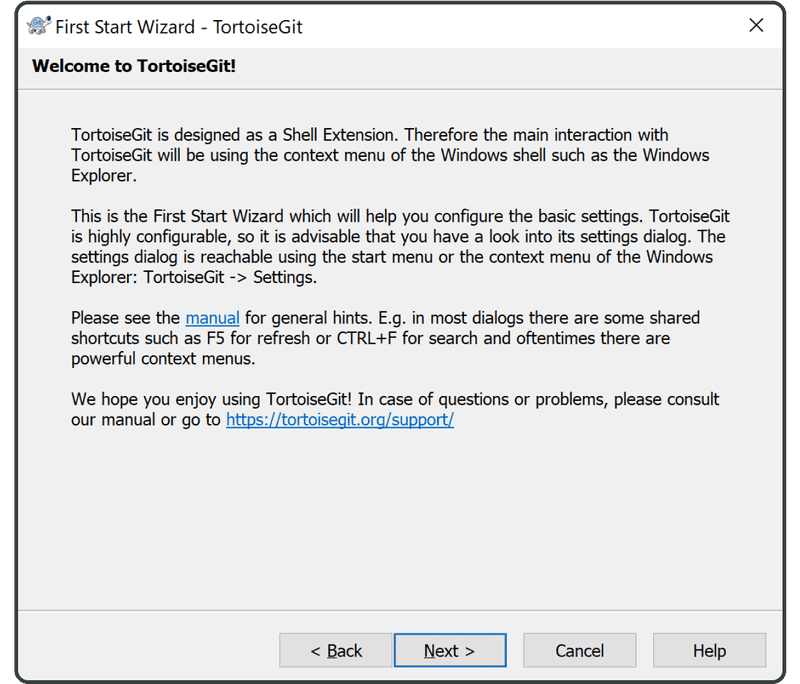
Click “Next” on the following screen.
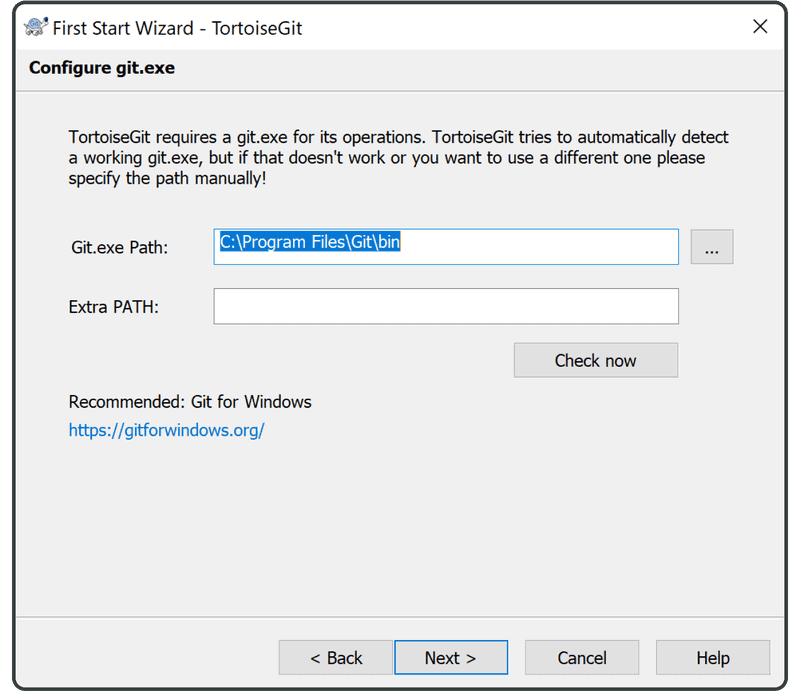
And click “Next” again.
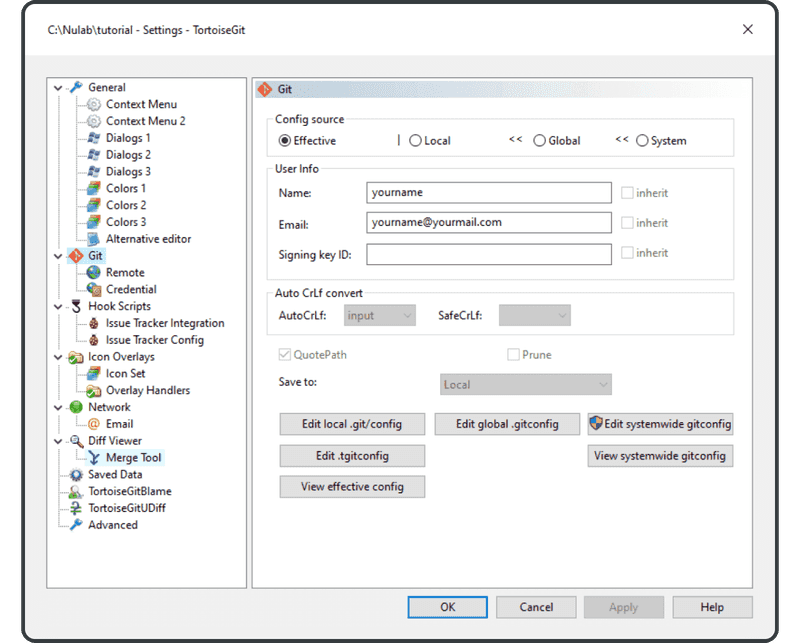
Enter your name and email address, then click “Next.”

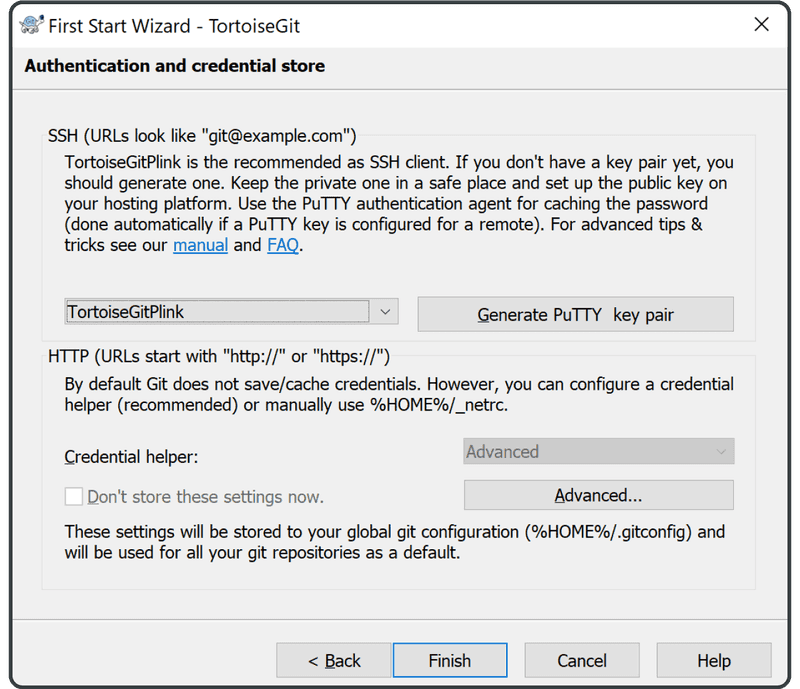
Click “Finish.”
Next, we will change the default branch name to be more inclusive.
To do so, right-click anywhere and choose “TortoiseGit,” then choose “Settings.”
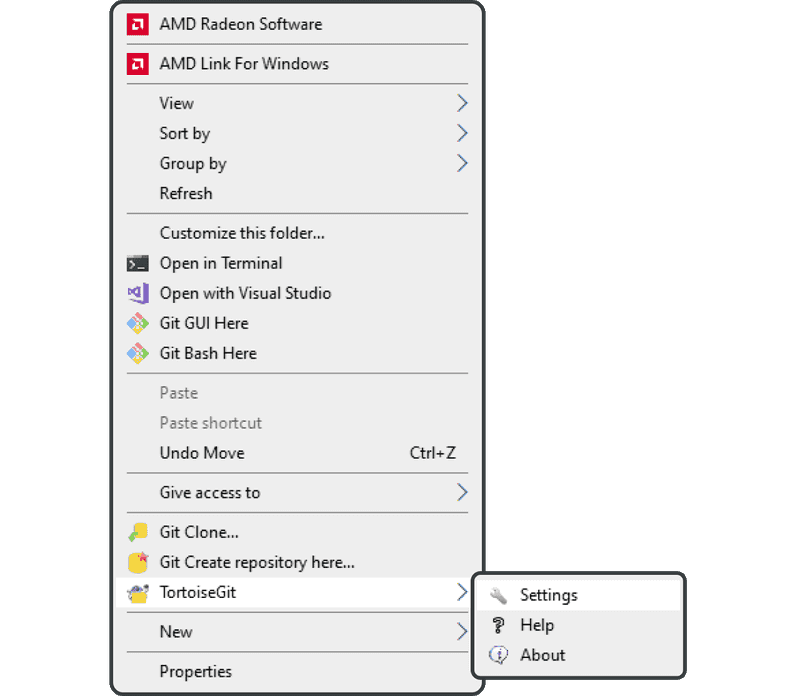
Click on the entry labeled “Git”, then click “Edit systemwide gitconfig.”
(Note: You may need help from your IT department if you don’t have the proper privileges on your device.)
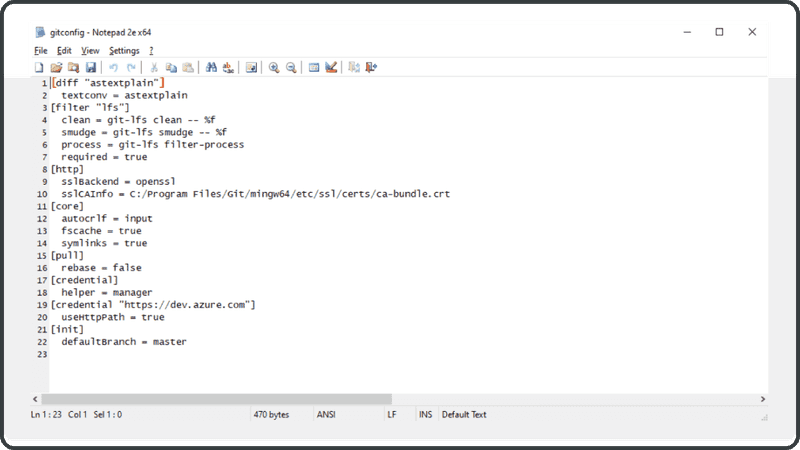
In the text editor that opens, find the line that says “defaultBranch = master.”
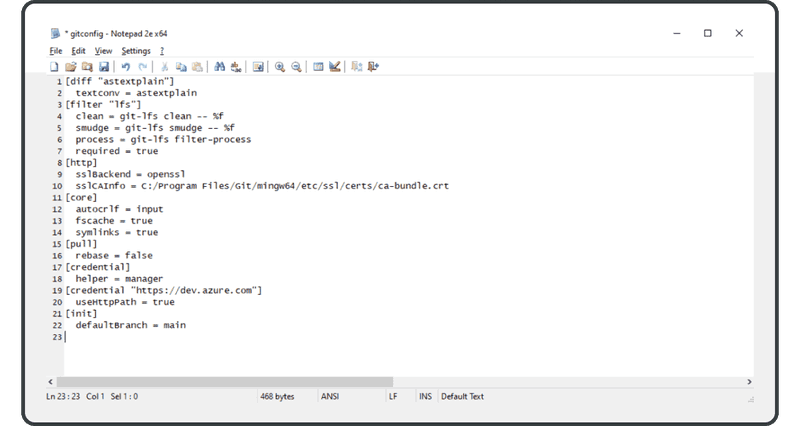
Replace it with “defaultBranch = main” (or another name you see fit).
Setup is complete! Now we can get to work.