원격 저장소로 푸시
이 튜토리얼의 시작 부분에서 만든 로컬 저장소로 푸시합시다.
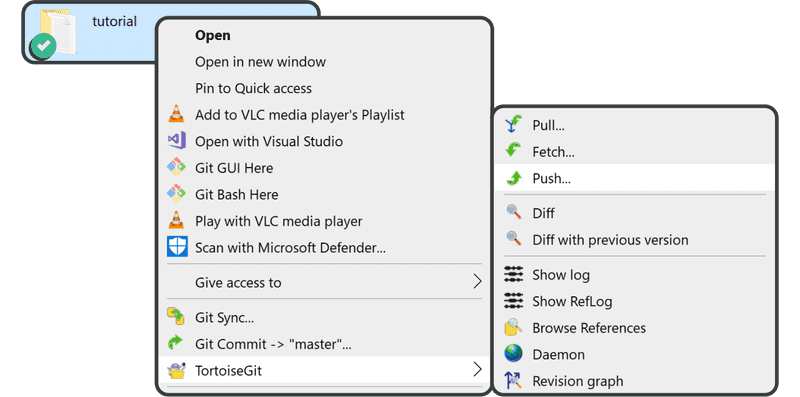
"tutorial" 디렉터리를 마우스 오른쪽 버튼으로 클릭하고 "Push"를 클릭합니다.
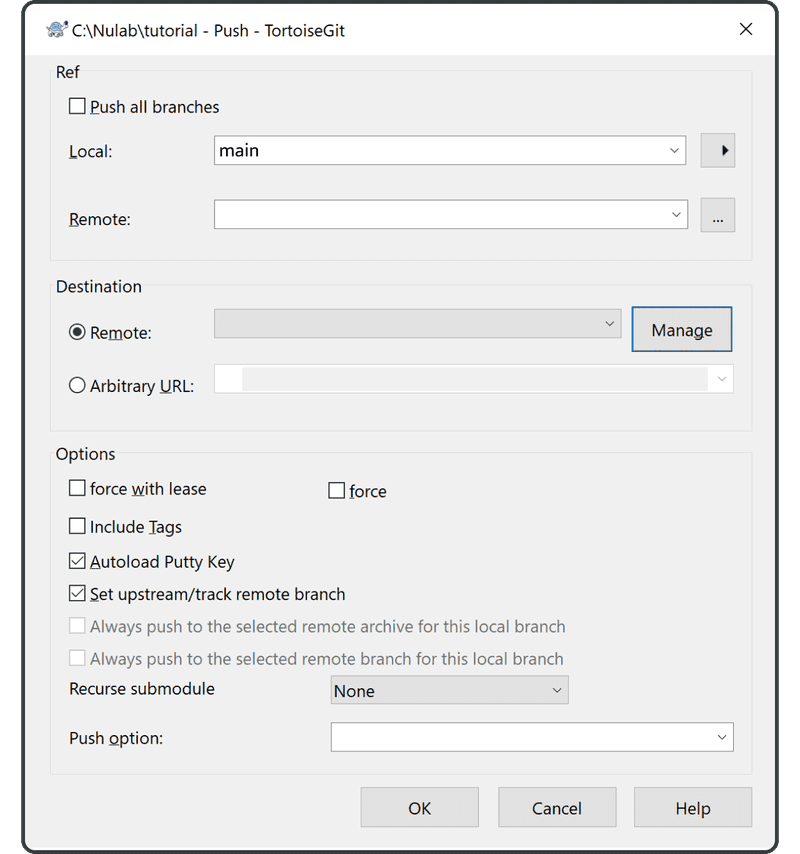
"Manage"를 클릭합니다.
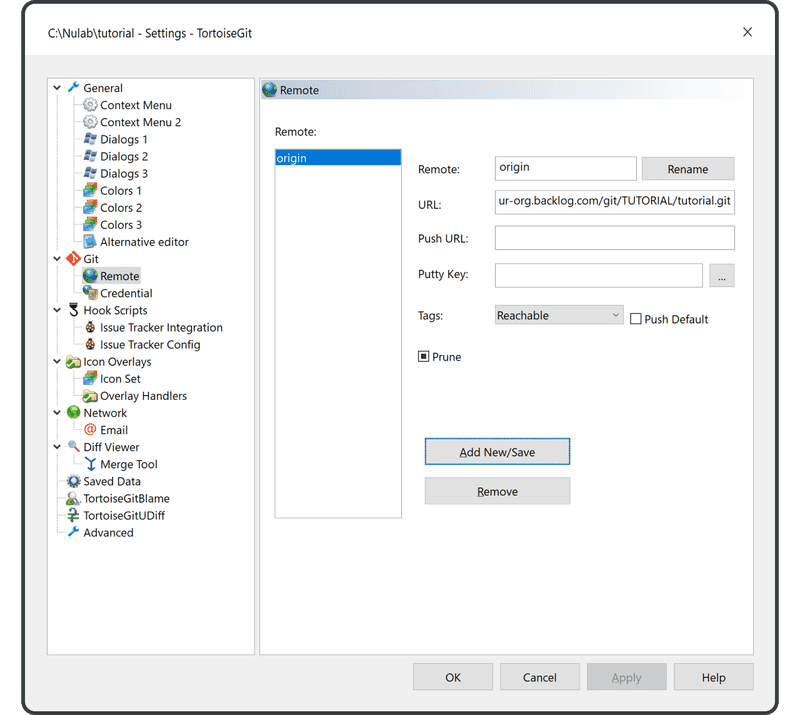
다음을 입력합니다.
- Remote: “origin”
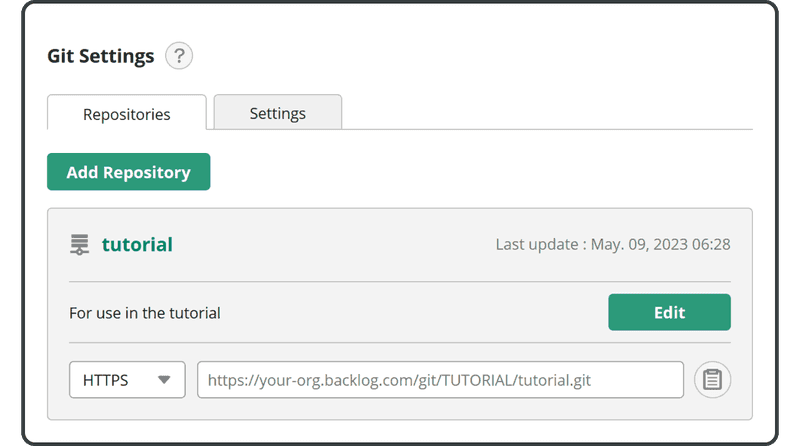
- URL: Backlog에서 이전에 생성한 원격 저장소의 URL
"Add New/Save"를 클릭하면 "origin"이 이제 원격 저장소 URL에 해당합니다.
완료하려면 "OK"를 클릭합니다.
콘솔에 있는 경우 푸시/풀링할 때 원격 이름을 생략하면 기본적으로 "origin" 원격 저장소가 사용됩니다. 이는 일반적으로 "origin"을 원격 이름으로 사용하기 때문입니다.
푸시 화면에서 원격 항목으로 "origin"을 선택한 다음 "OK"를 클릭합니다.
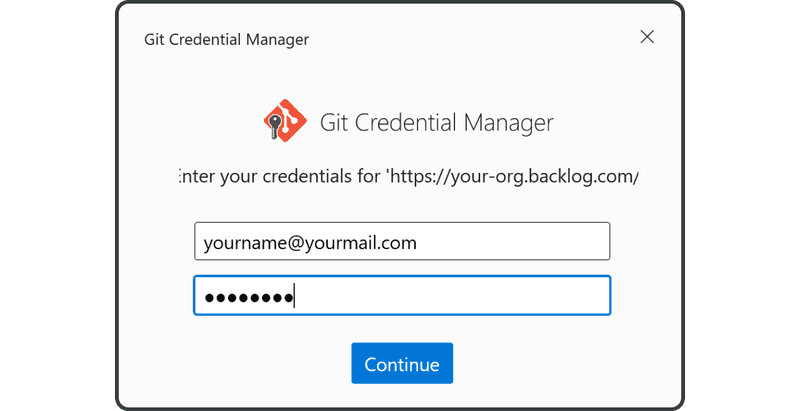
Backlog 이메일과 비밀번호를 입력합니다. 그런 다음 "continue"를 클릭합니다.
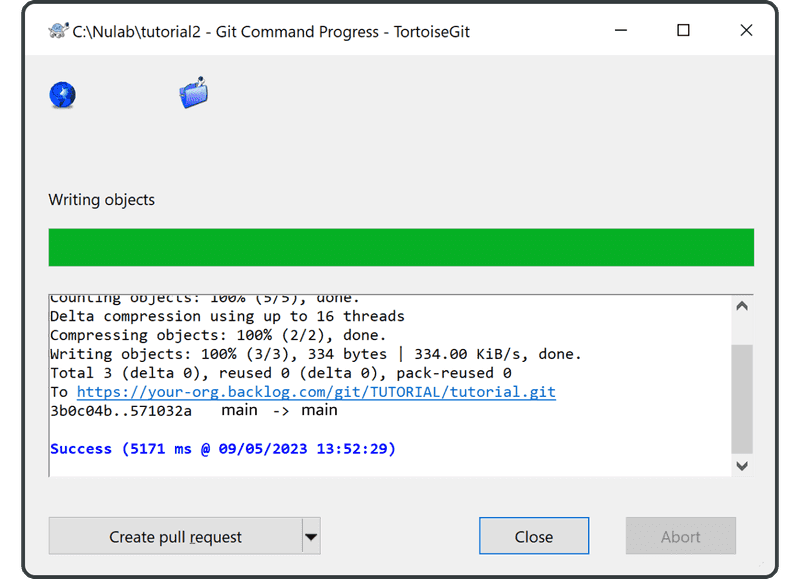
푸시가 성공적으로 완료되면 다음 화면이 표시됩니다.
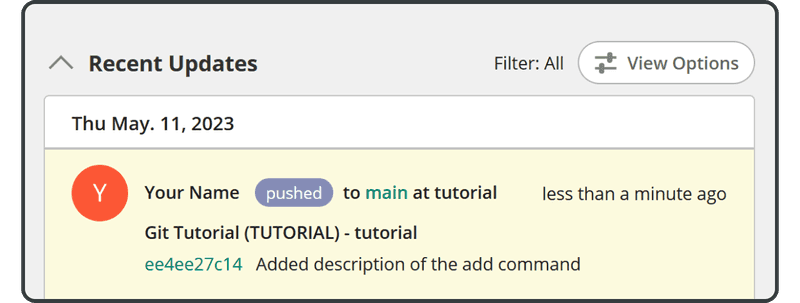
Backlog에서 Git 페이지를 열면 "Recent Updates" 아래에 나열된 원격 저장소에 대한 푸시에 해당하는 새 업데이트를 찾을 수 있습니다.
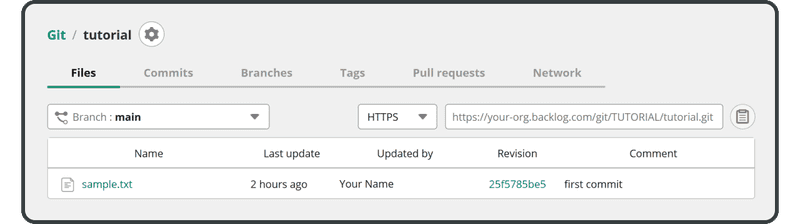
푸시된 파일은 원격 저장소의 파일 목록에도 나타납니다.
다음으로 이 원격 저장소를 복제합니다.