推送到遠端儲存庫
讓我們推送到您在本教程的開頭時建立的本地儲存庫。
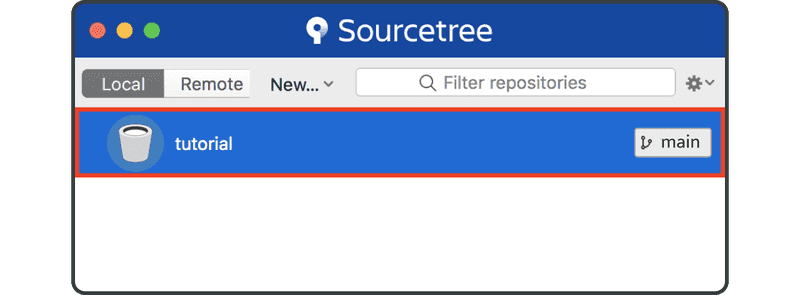
開啟 Sourcetree 並雙擊「tutorial」儲存庫。
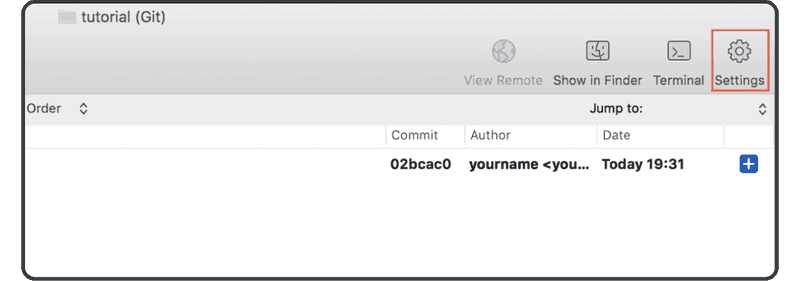
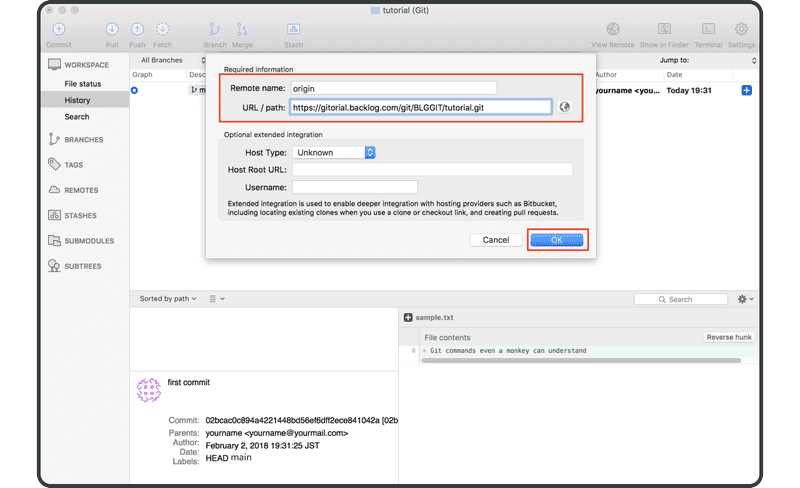
單擊工具列右側的「Settings」按鈕。
單擊「Add」。
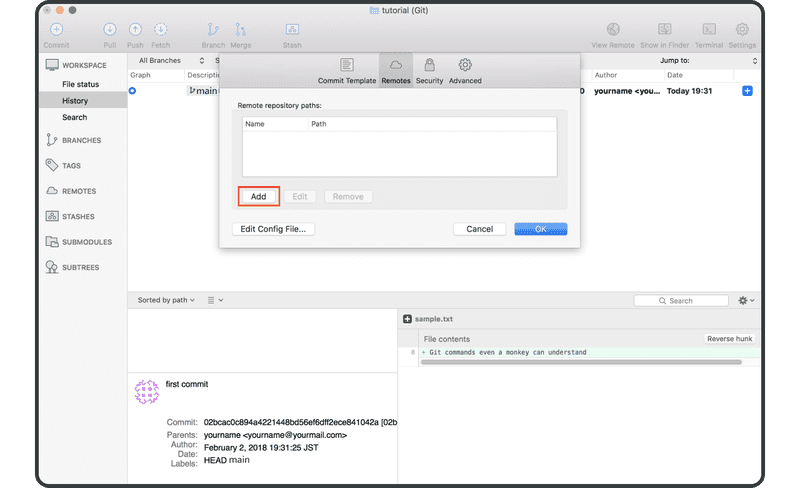
輸入以下內容:
- 遠端名稱:
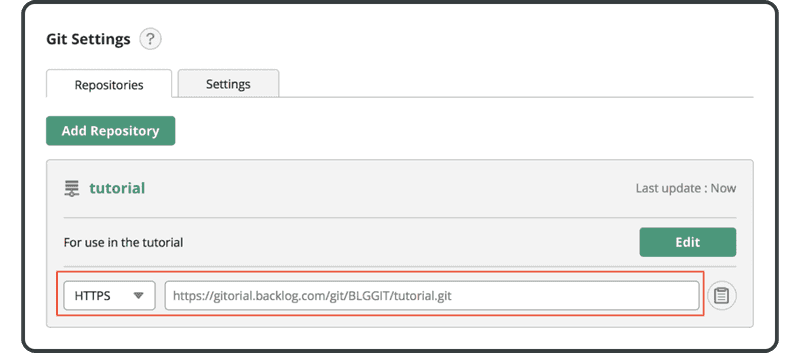
origin - URL/路徑:您之前在 Backlog 中建立的遠端儲存庫的 URL
單擊「OK」。
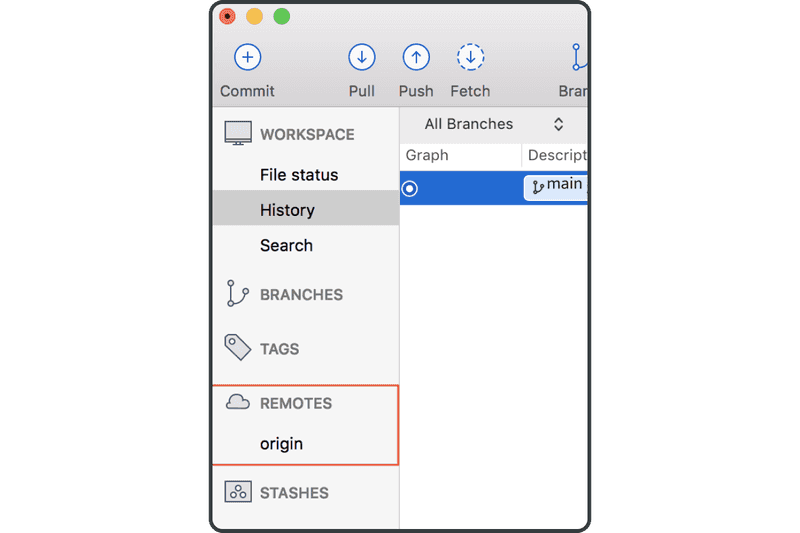
遠端儲存庫「origin」現在將顯示在「remotes」清單中,我們可以開始將更改推送到 Backlog。
如果您在主控台上,如果您在推送/拉取時省略了遠端名稱,則在預設情況下將會使用「origin」遠端儲存庫。這是因為慣例通常使用「origin」作為遠端名稱。
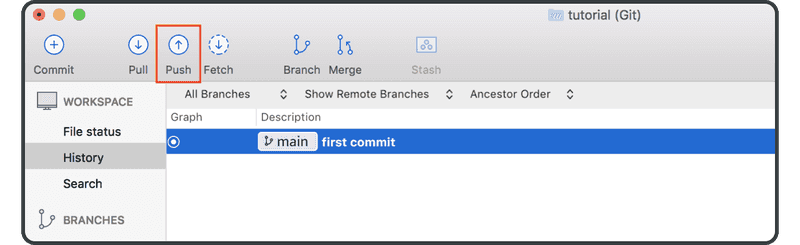
現在單擊上方工具列上的「Push」圖示。
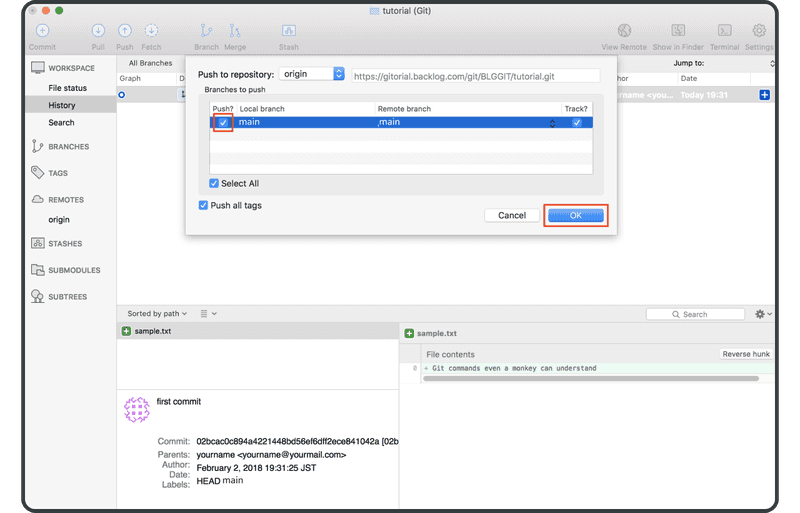
選取「main」勾選方塊,並單擊「OK」。
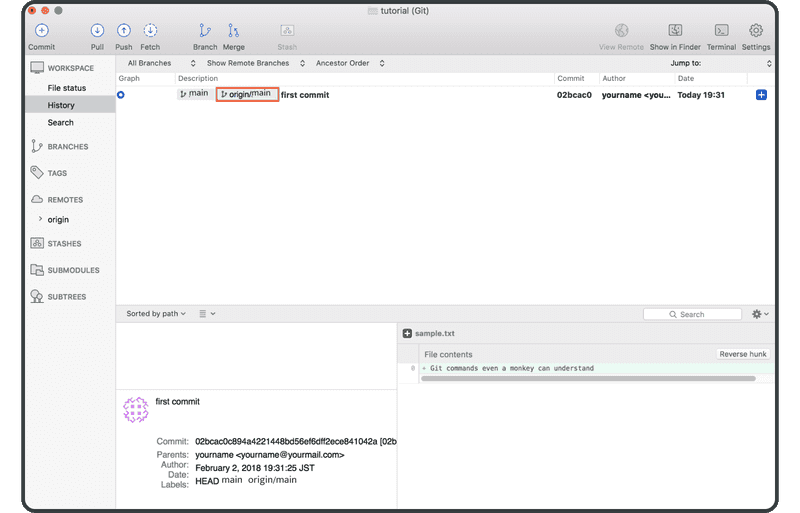
成功完成推送後,「origin/main」 - 代表遠端提交 - 將顯示在提交的「description」欄位中。
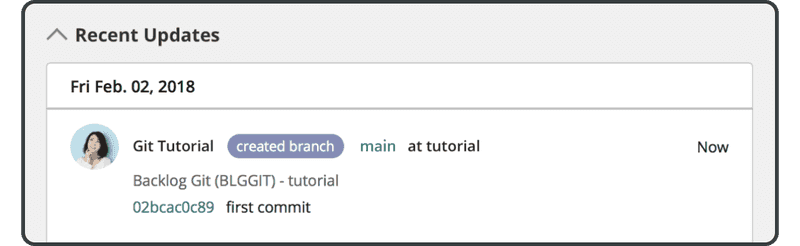
開啟 Backlog 上的 Git 頁面,您會發現在「Recent Updates」下面,列出了一個與您推送到遠端儲存庫相對應的最新更新。
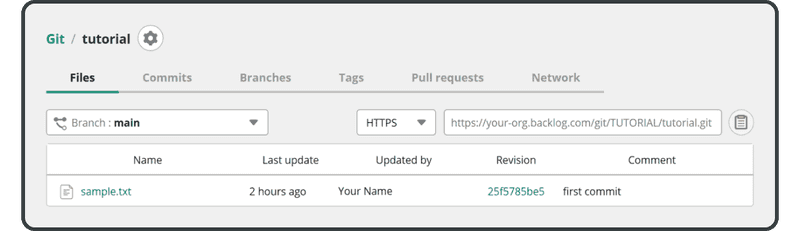
推送的檔案也會出現在遠端儲存庫的檔案清單中。
接下來,我們將克隆這個遠端儲存庫。